Q & A From the April Happy Hour
Q & A From the April Happy Hour
Last Friday it was such a pleasure to have 120 people “in the room” for our April virtual happy hour! As usual, it was impossible to get to all of the questions typed in the chat section before the end of the hour. So, as usual, I have saved them and will answer those we didn’t get to here.
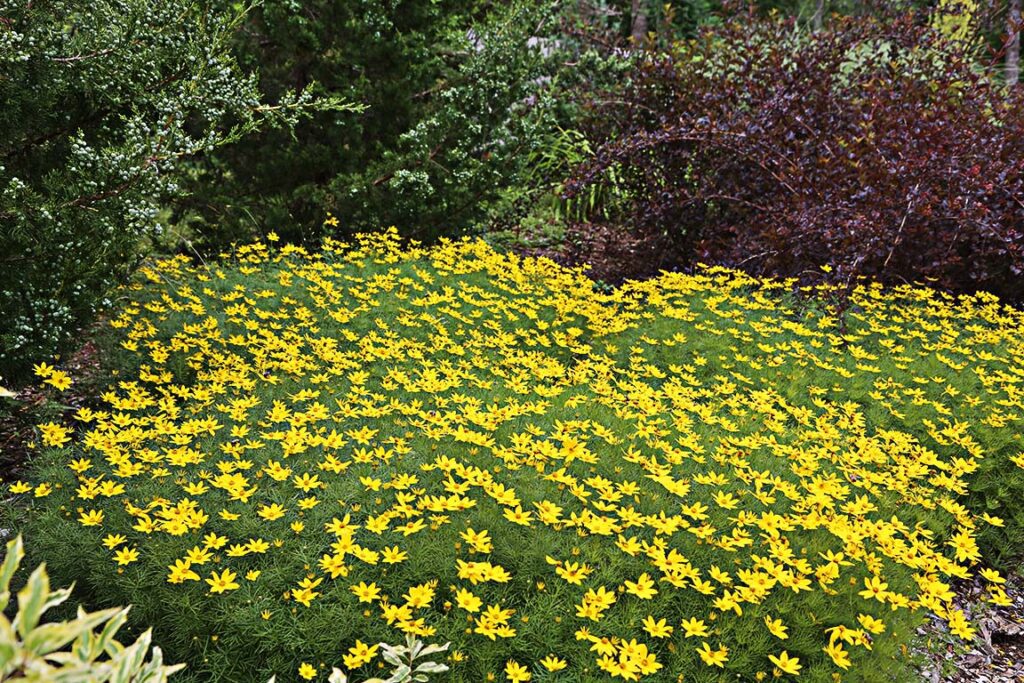
Q. Will Geranium macrorrhizum survive in all day hot sun?
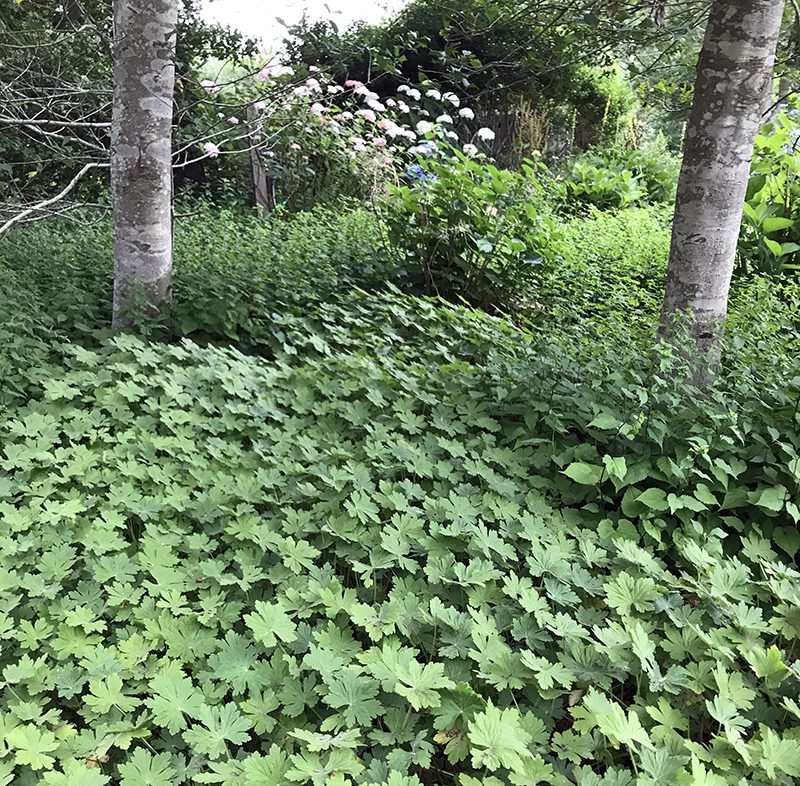
A. No, this is not the best plant for hot, dry conditions. It does best in part-sun or part-shade if the soil is dry. This perennial geranium is the perfect “socks and shoes” plant on part-shade slopes since it prevents weeds from getting established and the rabbits don’t eat it. But in full hot sun you’re better off with creeping phlox, wooly thyme, or ‘Zagreb’ Coreopsis.
Q. I am new to Cape gardening. Lots of sand in lower cape. How much amendment so don’t hurt natives? Which plants can grow in this soil as perennial garden? Is irrigation a must?
A. This could be a blog post in itself! But here are the important points:
- Amend your gardens like Nature does it: from the top down. Spread a one or two inch layer of compost over the entire garden before planting. Don’t amend single planting holes. Then in future years, add layers of compost or compost topped by an organic mulch, one or two inches thick. Most plants that are native in this area will do well in your gardens, but given this treatment of on-going amendment from the top down, most perennials will thrive.
- An automatic irrigation system isn’t a must, but you will need to water your newly installed plants deeply once a week through the first year, and depending on what you’re growing you may need to water periodically in times of drought. It’s common for us to have dry summers on Cape Cod…last year (2024) we had a dry summer, fall and winter! When you water, use a sprinkler. Hand watering isn’t enough for anything except newly planted seeds or seedlings. Water in the morning when possible. Get a rain gauge and put it under your sprinkler, and see how long it takes to fill to 3/4 to 1 inch of water. (Use a rain gauge – a can, carton or pail is not an accurate way to measure inches of rain.) Once you know how long your sprinkler takes to deliver that amount, that’s the amount of time you should have it running once a week, local guidelines permitting. We occasionally have water restrictions in some towns on the Cape and you’ll need to abide by those.
- Look to the natural world as your garden coach. When it comes to watering, fertilizing, pest control, etc, think, “How does Nature do it?”
Q. Please share some great plants to put in deck rail boxes that would be AMAZING for hummingbirds, bees, etc.
A. Happy to! Look for these: Cuphea ‘Vermillionaire’ is the top hummingbird magnet, and most of the annual Salvia varieties also draw the hummers. Add some ‘Profusion Zinnias’ and shorter single dahlias for upright plants that please the bees. Others to include for spilling over the edges are Nasturtiums and Calendula.
Q. Our Pachysandra has been dying back for a few years. It’s under a large oak tree, and was thriving for 15 years. Now we have a 10×15 foot area that is pretty much dead. Any ideas? Or a replacement?
A. There can be several things going on, and I’ll suggest the most common.
- Tree root competition and depleted soil. As the trees in the area grow, the roots become thicker, making less space, water and nutrients available for the Pachysandra. Since the ground cover initially grows so thickly, people don’t think about amending the soil with compost on an on-going basis, so the soil is denied the ongoing addition of organic matter that keeps the ground healthy. (Remember that in nature the soil is constantly being fed from the top down as leaves fall and rot in place around the plants.) If you decide to either revive the Pachysandra or replace it, you’ll need to revive the soil first by spreading a 2 or 3 inch layer of compost over the area, and top that with an inch of bark mulch or other organic mulch of your choice.
- Drought. Our summers have been getting drier and hotter. This could either be the cause of the dieback or a contributing factor. The solution is to water deeply once a week.
- Blight. There are both fungal and bacterial diseases that can kill Pachysandra. These are most likely if the area is getting hit frequently with automatic irrigation. If you are watering, water deeply less often.
- Replacement? Other plants that do well as a ground cover in shade include Epimedium, Geranium macrorrhizum, and the native white wood aster (Eurybia divaricata). These are not evergreen, however.
Q. How does creeping thyme grow in Cape Cod Soil?
A. Creeping thyme grows very well in our fast draining, sandy soils! Choose the variety that’s best for your location since some grow to 6 or 8 inches tall, and others are flat to the ground. White thyme (Thymus alba) is very fast growing. Wooly thyme (Thymus pseudolanuginosus) has a nice grayish color in summer and a purple-tint in the winter.
Q. I compost a LOT. I think I need a 2nd bin……… Do you have two?
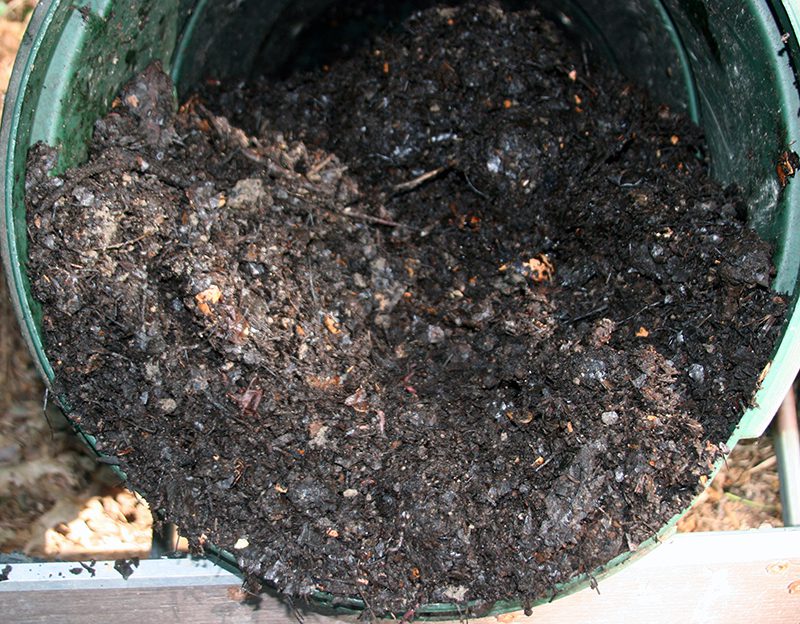
A. Good for you! We actually have several compost bins and areas. We have three enclosed barrel bins for our kitchen waste. We add leaves and pine needles to that to balance the “greens” (high nitrogen) from the kitchen with “browns” (high carbon) materials. One bin is actively added to daily. Periodically that is either transferred to the second bin or we stop adding to it and start putting daily kitchen waste in the second. After one bin has just been decomposing for a few months (more in the winter, fewer in the summer) we empty it out. Should there be a bunch of material that is not broken down much that gets put in the third bin to finish. But we don’t stress about still visible egg shells (these take years to break down!), avocado pits or random twigs.
Our second compost pile isn’t enclosed and that’s where we dump garden clippings, leaves, and potting soil from containers. This gets turned at least once and used as needed. The last “compost” area is actually a brush pile where sticks and larger yard waste go. We don’t turn it. This area serves as shelter for wildlife as well as a place for us to dispose of organic materials that don’t fit elsewhere.
Q. Are there other Happy Hours coming up?
A. Yes! We try to schedule one a month, and thanks for asking. The next is on May 9th and the topic is Herbs and Edible Flowers. You can register on our Events Page soon.
Subscribe To Our Newsletter
Sign up for our weekly email about sales and events.