Winter Sowing
Winter Sowing
“Winter Sowing” is the process of planting seeds in recycled containers, famously milk jugs, to leave outdoors in the winter for cold stratification and spring germination. You may consider this method if you want a “set it and forget it” style of seed starting, lack space indoors to start in trays, or if you forgot to scatter your spring blooming flower seeds in the fall.
While you may think that a milk jug creates a mini greenhouse environment for your seeds, this method actually exposes the seeds to the elements and freeze-thaw cycle in the same way that planting them in the ground would, which is crucial for germinating certain seeds.
Some benefits of winter sowing include:
- Eliminating the risk of seeds being dug up by animals, washed/blown away, or out-competed
- Ability to sow at your own pace throughout the months of January and February on Cape Cod, even with snow or frozen ground
- You can easily keep track of what you have planted
- No need to harden off seedlings before transplanting; creates strong, hardy plants
If you’re ready to get started, here’s what you’ll need:
- Clear plastic containers such as milk jugs, liter soda bottles, or takeout containers
- Phillip’s head screwdriver or drill
- Box cutter
- Any potting soil (it does not have to be seed-starting soil; avoid compost)
- Duct tape
- Permanent marker and optional plant tags
Step 1: Prepare your container
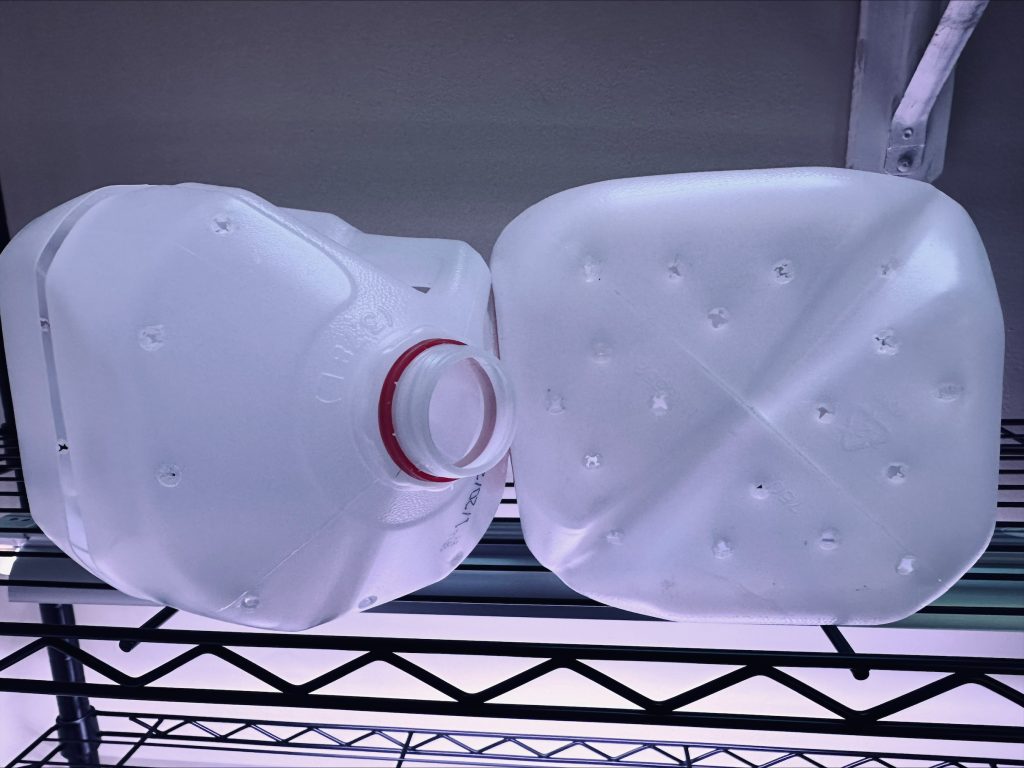
Containers that are at least 6 inches deep are ideal. Use a Phillip’s head screwdriver to make drainage holes. Heat the screwdriver tip with your stove burner or a torch to easily poke holes. A drill works too, but is tricky with thin plastic. Add holes for ventilation at the top of your container as well.
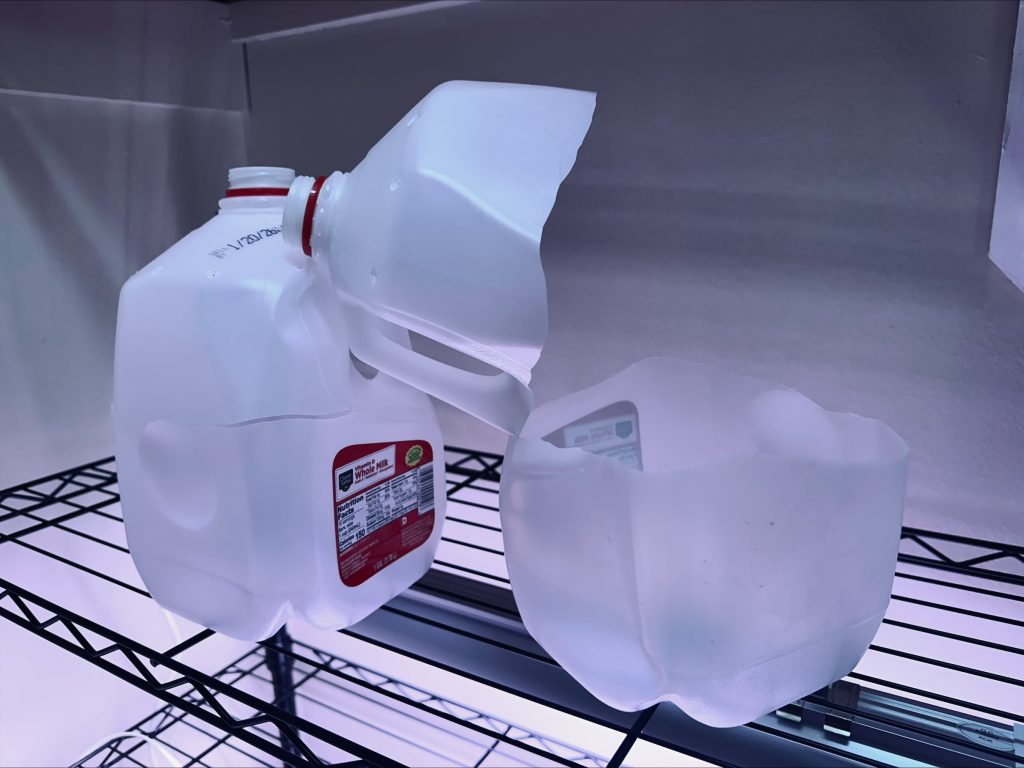
Use your box cutter to cut the top off of your container, leaving an inch or two to act as a “hinge”. If using a milk jug, simply cut from one side of the handle to the other.
Step 2: Prepare your medium
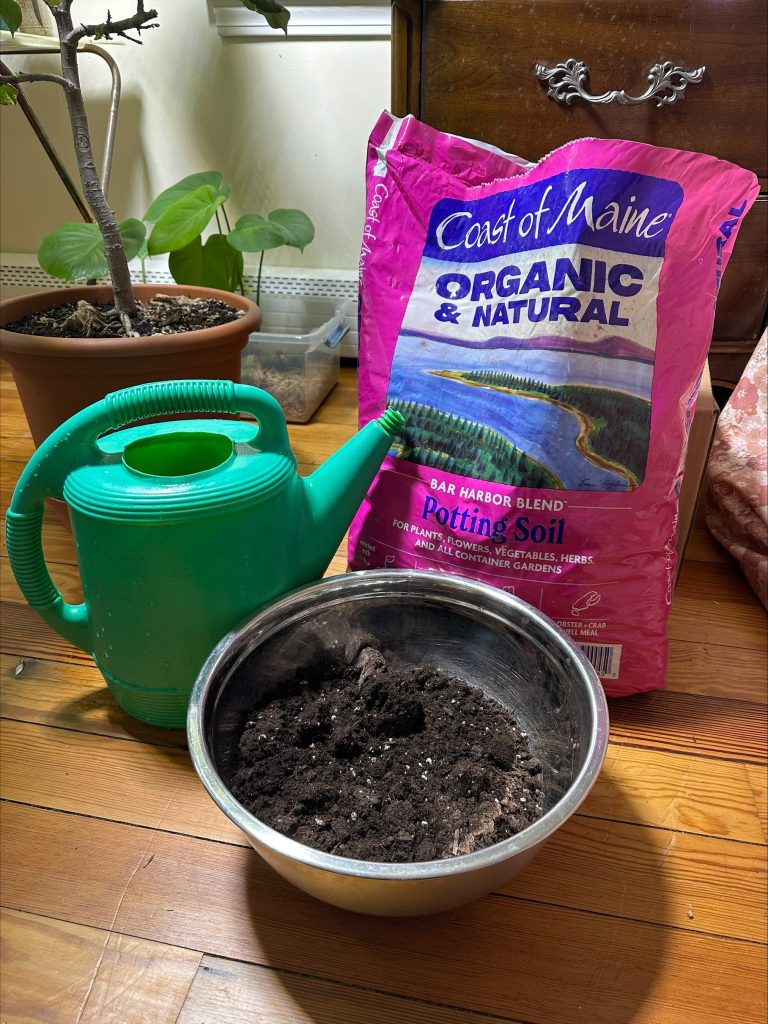
It is important to dampen your soil before filling your container! Pour some soil into a large bowl or bucket and add water little by little, mixing with your hands. Soil should clump well when you squeeze it but should not be dripping.
Fill your container with about 4 inches of soil. That is enough depth to accommodate healthy root growth.
Step 3: Choose your seeds!
Read your seed packets carefully to determine whether or not they are a good candidate for winter sowing. Look for, “sow in Fall for early Spring blooms”, “can withstand frost”, or “sow early Spring as soon as soil can be worked”. Aside from milkweed and poppy, which require cold stratification, these hardy annuals are great options for winter sowing: love-in-a-mist, marigold, cosmos, cornflower, snapdragons, pansies, morning glory, calendula, sweet peas.
Almost any perennial hardy to our zone 7 will work very well.
When it comes to veggies, members of the brassica family will be successful (broccoli, cauliflower, kale, brussels sprouts). You can try most leafy greens, chives, and snap peas.
Avoid heat-loving annuals such as celosia, zinnias, and sunflowers. You will surely have no luck with tomatoes, peppers, or summer squash.
If you’re not sure, remember there’s no harm in trying! Maybe grab some extra seeds, drink more milk, and experiment.
To plant your seeds, just sprinkle them on top of the soil and gently pat down. There is no need to space out your seeds for this planting method.
Step 4: Seal it up
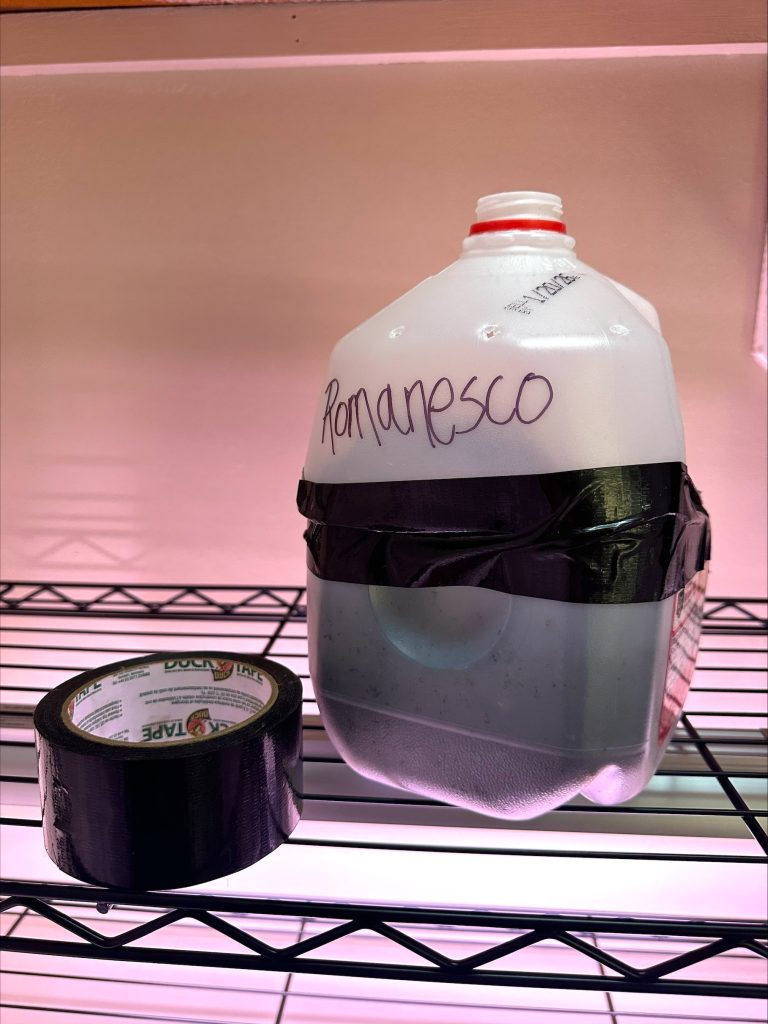
Use duct tape to seal your container back up, and label with a permanent marker (or put plant tag inside container), and place anywhere outside that receives sun and doesn’t put your containers at risk of blowing around.
Step 5: Be patient and transplant in Spring!
Seeds will germinate when the time is right, most likely when Spring bulbs begin to emerge. As your seedlings grow and temperatures rise, avoid frying them and add more ventilation by cutting a window into your container. You may have to water during dry weeks. Once you have sturdy plants and the soil in your beds can be worked, divide them up (don’t be afraid to pull or snip roots apart) and plant!

For more tips on starting seeds, come visit us in the store, where you will also find everything you need for your indoor seed starting set-up!
Subscribe To Our Newsletter
Sign up for our weekly email about sales and events.