What To Do With My Amaryllis?
What To Do With My Amaryllis?
Did you buy or receive an amaryllis bulb over the holidays? If so, you probably enjoyed the lovely, large flowers at the end of the tall bloom stalk. Now you’re wondering how to take care of the plant into the summer, and if you can keep it and bring it into flower again next winter. First of all, know that these are some of the easiest holiday plants to save from year to year and have them bloom again. Secondly, we’re here to help with that process.
Once your flower has faded here’s what you need to do:
- Cut the flower stalk down to about two inches above the bulb once the bloom has faded. Keep watering the soil when it’s dry, but don’t keep it constantly wet. When kept too moist the bulb and roots can rot, so better to have the potting mix on the dry side in between waterings.
- The bulb should start to produce leaves after the flower finishes. Occasionally a bulb will produce a second flower stalk as well as foliage. If you’re lucky enough to have this happen, enjoy that repeat bloom and then cut that stalk down once it fades.
- As the leaves grow from the bulb, let them develop and become long. They are often floppy, but don’t worry about that.
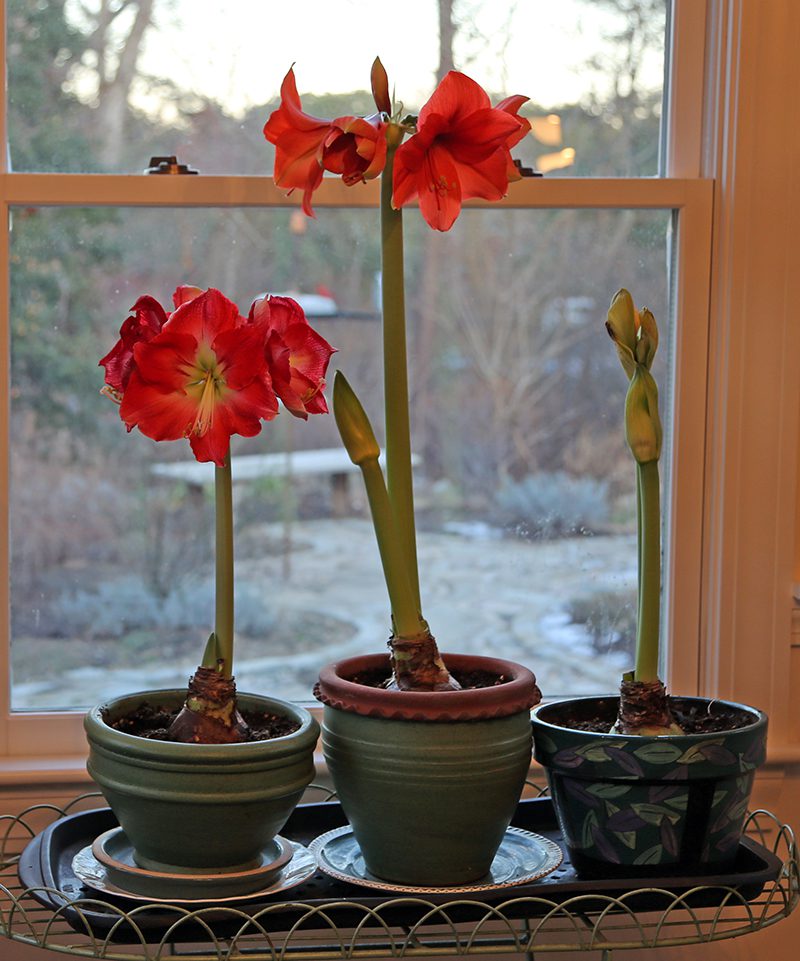
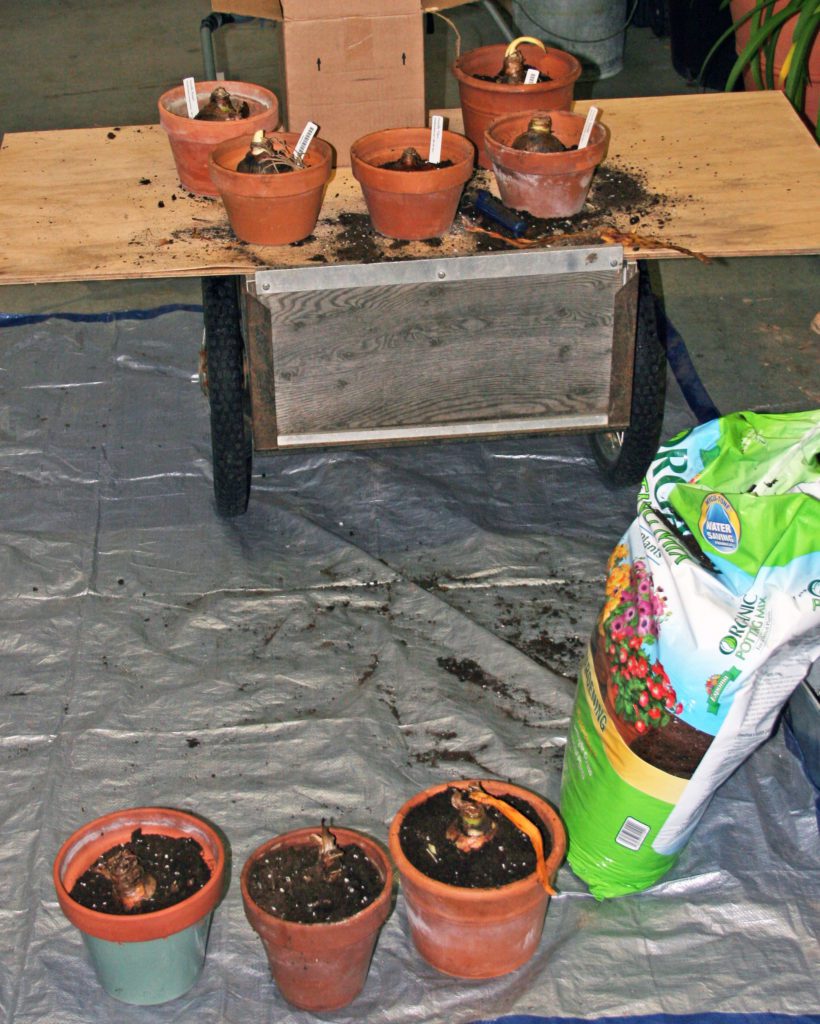
- If your bulb came in a plastic pot, you should either repot it into a clay container right away or do so in May before you put the plant outside. A clay pot is best because it is heavy enough to hold the large, strappy, green leaves when the plant is put outside for the summer. It’s fine to use a pot that is wider than it is tall.

- Before placing the bulb in the new, clay pot, mix some organic fertilizer into the potting soil. Flower-tone or Plant-tone are fine for this purpose, or use the Coast of Maine Stonington Blend fertilizer. A tablespoon or two per pot will be fine.
- Be sure a third to a half of the bulb is showing above the soil line. This helps prevent rotting. When watering these bulbs, moisten the soil well but then wait until it starts to look and feel dry before watering again.
- The amaryllis we grow indoors and enjoy indoors at this time of year is in the genus Hippeastrum. These plants are native to the tropical and sub-tropical regions of South America and the Caribbean. This tells us that they cannot live where temperatures fall below freezing in the winter, which is why we put our plants outside in the summer, and bring the pots of amaryllis bulbs indoors in the fall.
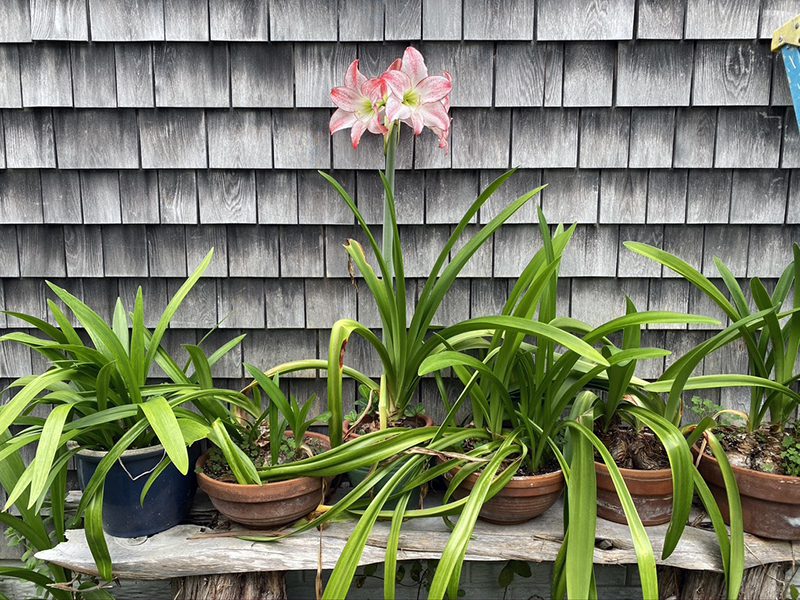
- Whether you’ve repotted your bulbs right away after blooming, or wait and do it when you put the plants outside, you should keep the plant in a sunny window for the rest of the winter and into the spring. It will grow long, green leaves. Do not worry if they flop or sprawl. Water the bulb when the soil looks dry, and start to fertilize either with a synthetic or organic fertilizer.
- When the night time temperatures are above 50° in May or early June, you can move your pots of amaryllis foliage outside. If you have not yet put the bulb in a clay pot, now is the time to do so. Place some time-release fertilizer on the top of the soil so that the plants are fed throughout the summer. This is important because those green leaves are creating energy for the bulbs all summer long, and that energy will be what fuels the production of flowers in the coming winter.
- Water your amaryllis plants when the soil looks dry. Do not keep the soil constantly wet as this will rot the roots and bulbs.
- As the bulbs age they will produce new bulblets to the sides of the mother plant. You can either leave these next to the first bulb, and transplant into a pot that is wider, or you can separate these and pot each bulb up individually. A bulblet commonly takes two or three years of growth before it is big enough to flower.
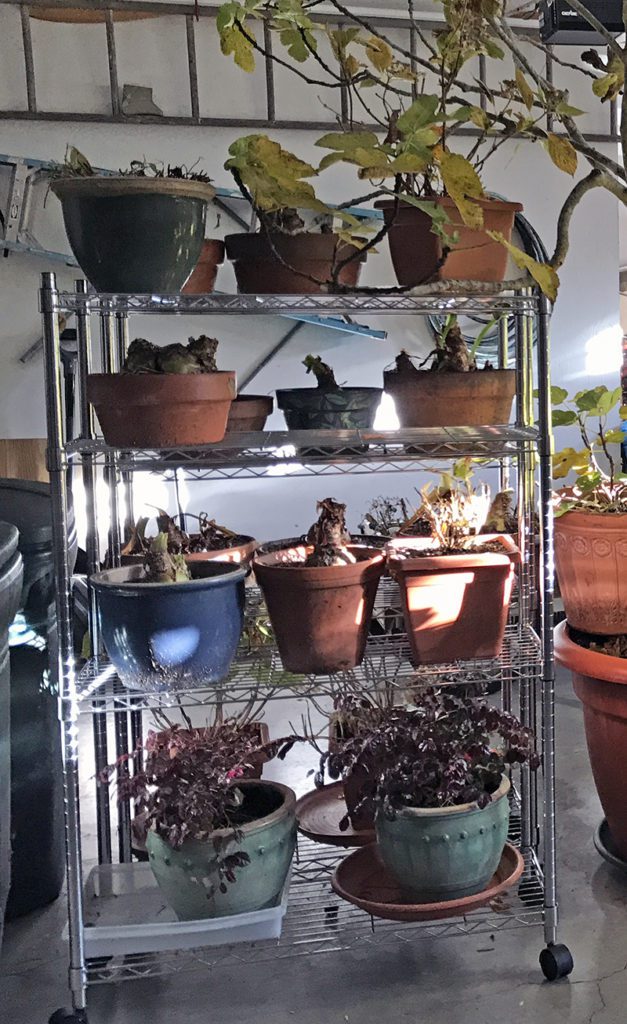
- In September, move your pots of amaryllis into a cool place where they can rest for six weeks. An unheated garage is perfect. Do not water. The foliage may die back. After that resting period you can bring the pot back into the house and begin watering again.
Given that the treatment outlined above, new soil and repotting, fertilization and outdoor growth during the summer, you’ll be enjoying your amaryllis flowers every winter for years to come.
Subscribe To Our Newsletter
Sign up for our weekly email about sales and events.