How To Make A Boxwood Tree

How To Make A Boxwood Tree

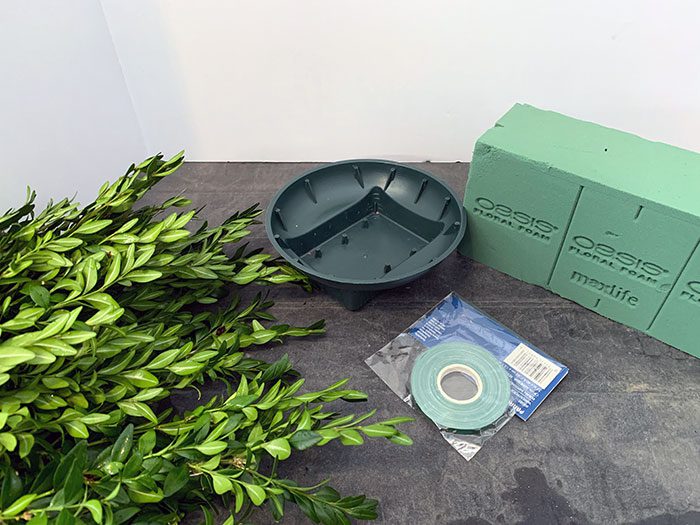
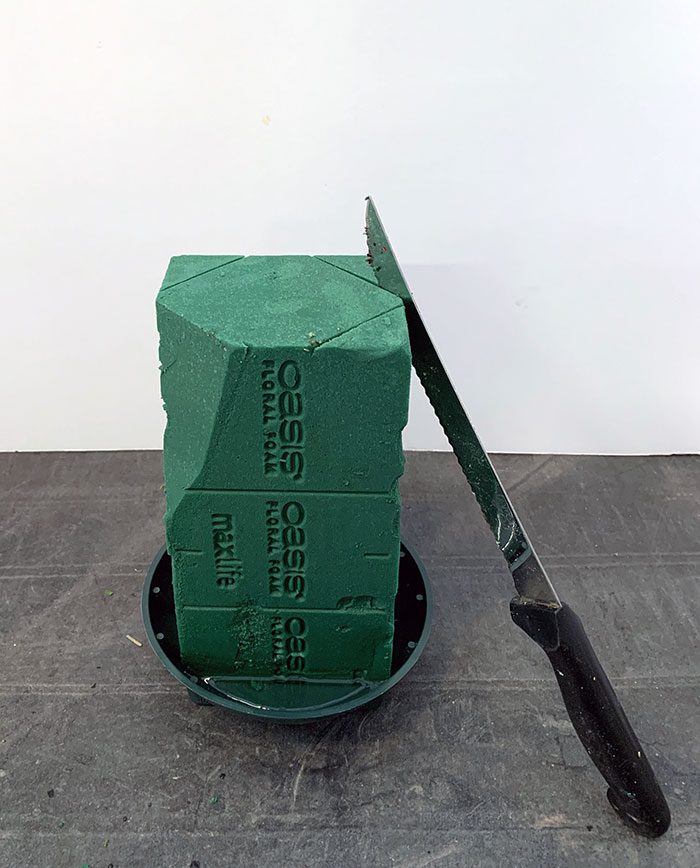
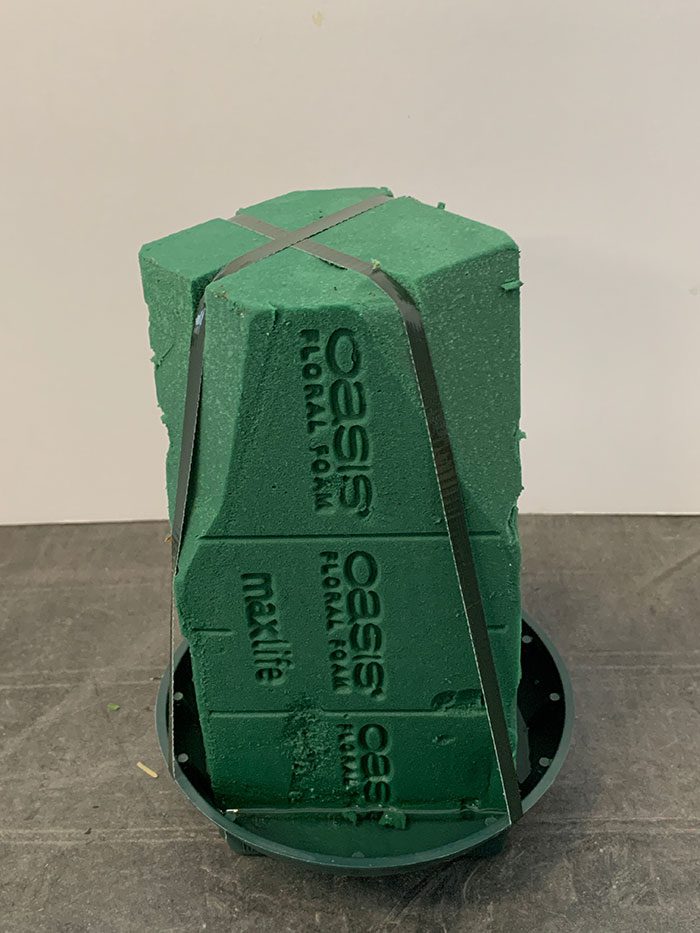
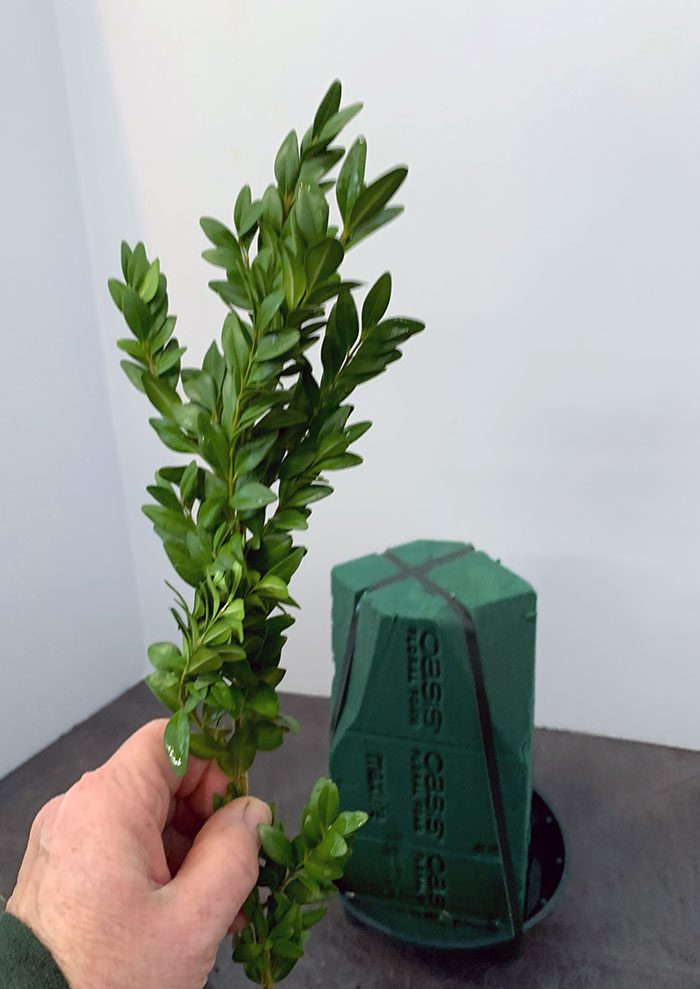
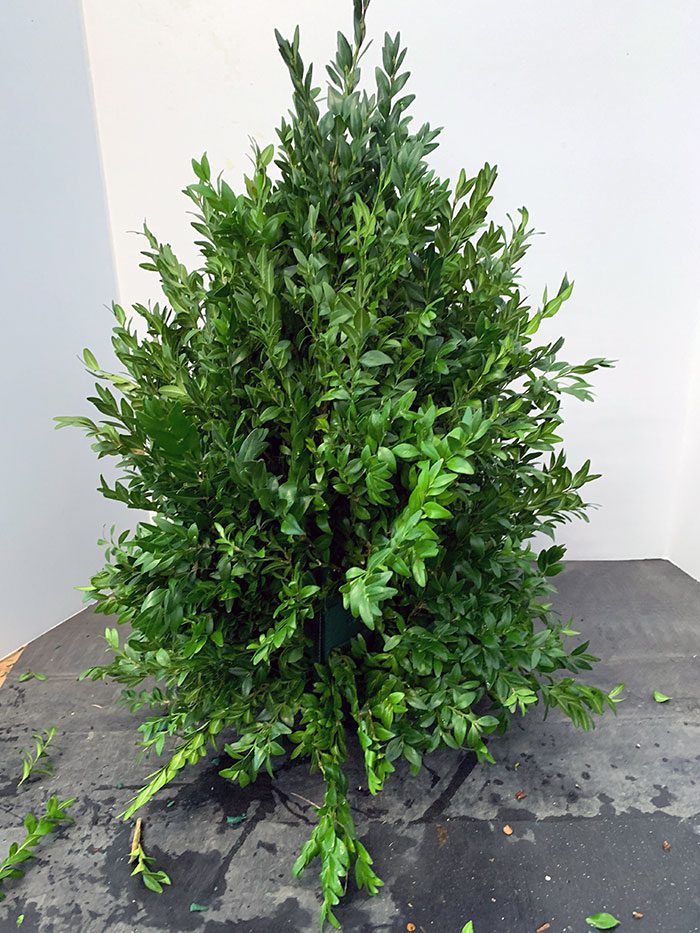
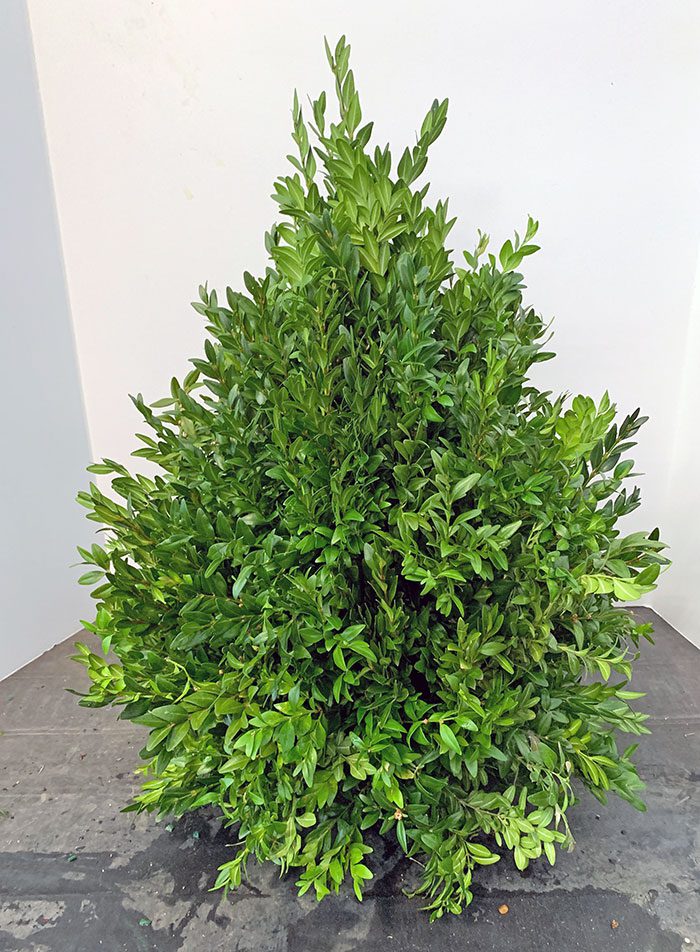
At this time of year we make many boxwood trees for our customers, but we also recognize that many people have fun creating their own. Here are some step-by-step photos showing how it’s done. At the bottom of the page are links to print out instructions and illustrations to help you create one.

You will need a shallow bowl; we use these plastic design bowls for regular trees but sometimes make them in fancy urns or vases. You’ll also need some waterproof tape, a block of florist foam (the kind you soak in water) and about three pounds of cut boxwood.
Soak the block of Oasis floral foam in water for at least 30 minutes. Place it in your dish and cut the top corners off as shown.
Use waterproof tape to hold the block of Oasis onto the dish on all sides as shown. DO NOT SKIP THIS STEP. Your tree will be prone to falling off the dish when you move it if the foam isn’t taped, and you need to do this before you start to make the tree. Trust me…I’ve forgotten the tape in the past only to have the tree I spent time on crash to the ground when I picked up the dish to carry the tree from one place to another.
Look through your boxwood to find a piece that would make a good “leader” or top of the tree. It should be about 8 inches tall.
Make a fresh cut on the bottom of the leader and put it right in the center of the oasis. Then cut several pieces about four or five inches long and put them all around the bottom as shown. This gives you the general size of your tree.
Now start filling in by cutting pieces and sticking them in. Note that they are put in almost upright, not sticking out horizontally from the foam. If you have slightly curved pieces, place them so that the interior of the curve faces the foam.
Turn your tree around and work on several sides at once. Note how the pieces on the right side are at an upright angle to the foam.
Keep turning the base around and filling in. Make a fresh cut on every branch. Try not to take a branch out of the foam once you’ve put it in, as this makes holes where air can dry out pieces in the future. Better to leave a piece and either snip it if it’s too big, or just work with it.
Once the tree is mostly done, turn it around slowly and look for places where you can see the oasis. Here I can see the oasis in the center of the lower part of the tree. Cut bushy pieces to fill in these open areas.
Once you’ve filled in any open places your tree is done!

You can download a pdf of instructions and illustrations on these two links. Print them out and keep them on your work table when you create your tree. Or come to one of our workshops for on-site instructions!

Instructions and Illustrations

Posted in

Leave a Comment


Subscribe To Our Newsletter

Sign up for our weekly email about sales and events.