Your Journey To Joy: Pressed Flowers
Your Journey To Joy: Pressed Flowers
An Easy, Creative Summer Project
As the garden center fills with an ever-expanding selection of flowers, we’re pleased to remind people about the pleasure that comes from pressing plants. In the past people would press flowers in between the pages of heavy books, and glue them on blank note cards. But today the possibilities for the creative use of pressed plants is limitless. Here are some tips for this easy-to-master craft, and suggestions for the end use of dried blooms.
Materials Needed
Pressing flowers is quite easy. All you need are some heavy books, thin, white paper to place under and on top of the flowers so that they don’t stick to the pages of the book, and flowers and leaves that you pick from your garden or containers. By starting to press flowers early in the season you can have a wide range of colors, sizes and shapes of dried blossoms to work with by the end of the summer.
Start With Flat Flowers
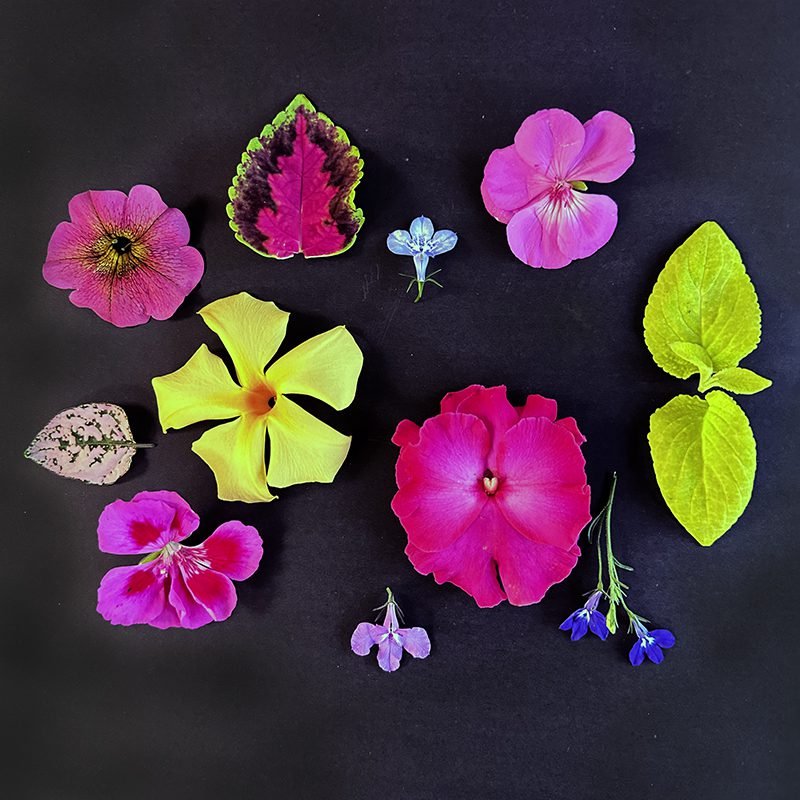
Flowers that are already fairly flat are easiest to press. If you want the colors of thicker blooms such as marigolds, zinnias, or dahlias, carefully pull the petals off of those flowers and press them individually. Later, when you’re arranging the dried flowers, you can place those petals together to resemble the original flower.
The Process
Place a sheet of thin, white paper in an open book. Arrange a group of flowers on the paper, keeping them at least a half inch apart from each other. As much as possible, smooth out any folded petals or edges so that they are as flat as possible. Place another sheet of paper on the top of the flowers, and close the book. Once you have all of the flowers you wish to press inside books, place these in a stack and top with either another, very heavy book, or something like a cast iron pan that is also heavy. Leave them to press and dry for at least two weeks.
I Have Pressed My Flowers…Now What?
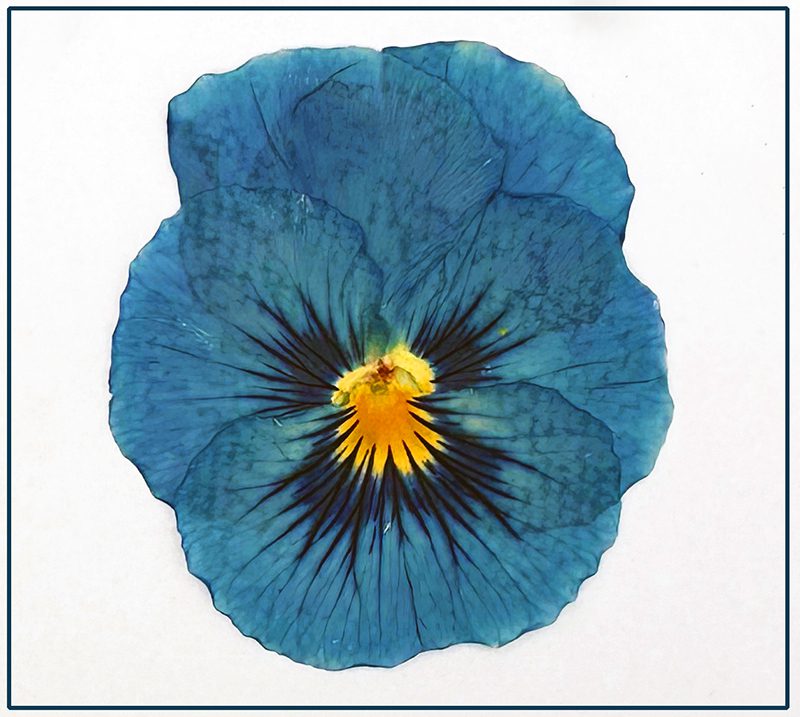
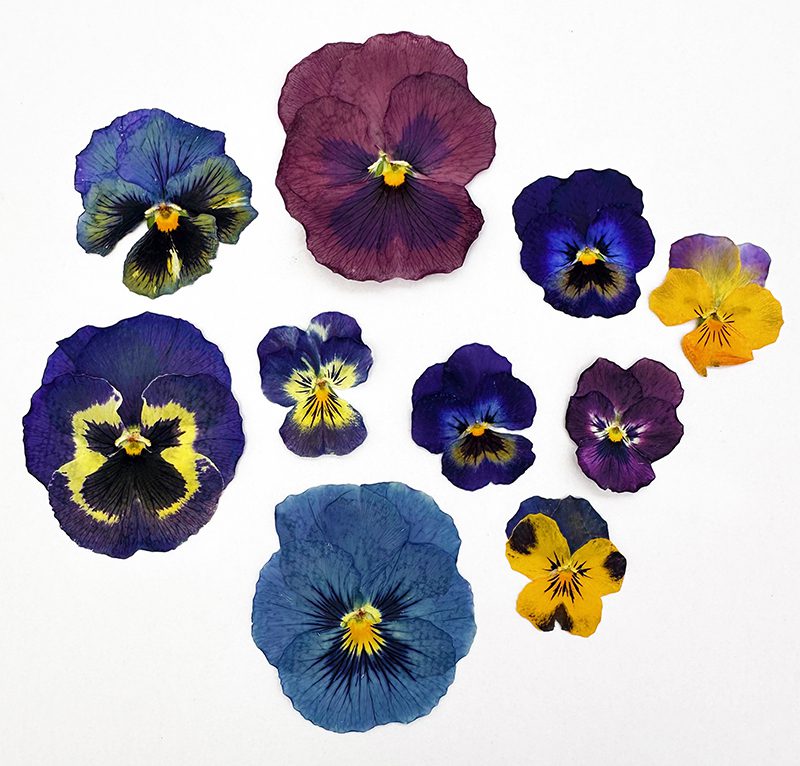
Once you have accumulated a number of pressed flowers, you are ready to create something special. Yes, you can arrange them in between two sheets of glass, or glue them on note cards or art paper. But once the flowers are exposed to light they will fade and brown fairly quickly. So we suggest that you arrange the pressed blooms and leaves into a design, and take a few photos. In fact, if you are careful, you can use the same flowers for several different arrangements and designs, taking closeup photos of each creation. Arrange some on a white foam-core board, and some on a black or gray background.
There are many ways to use these photos, since you can have a picture printed on just about anything these days. Have your pressed flower picture printed on teeshirts, scarves or throw pillows. Use it on mugs, cell phone cases or tote bags. You can even have a photograph printed on cookies and cakes!
Special Project Suggestions
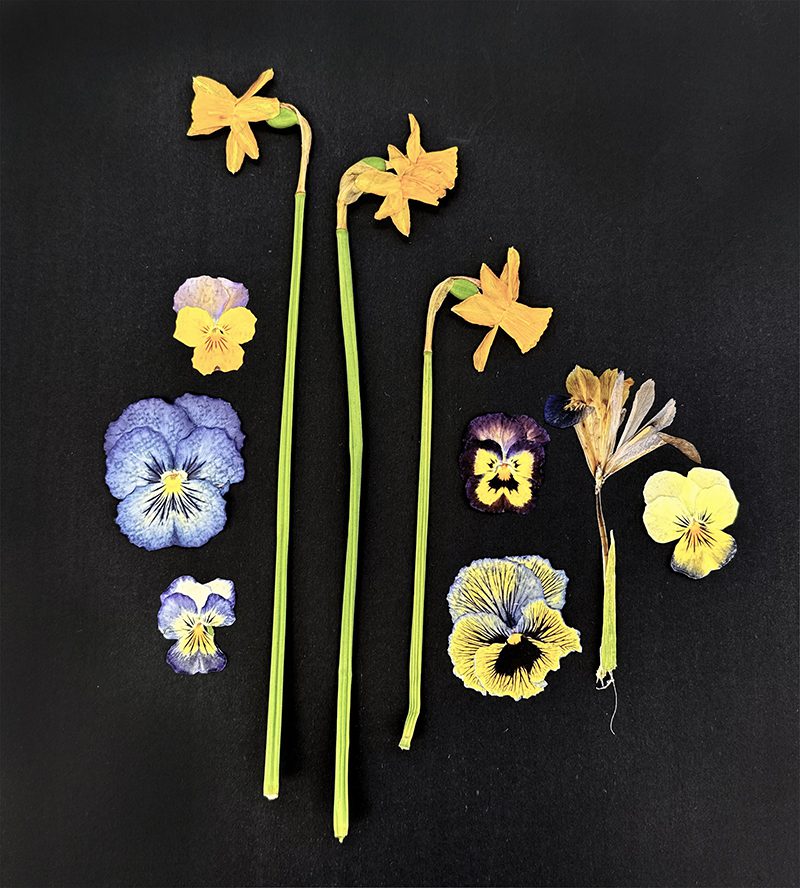
Record the flowers in your yard or gardens over the course of one summer, and create a picture that contains the range of flowers from spring through fall.
Press leaves and flowers each month, and then have the photos made into a calendar showing what is in bloom over an entire year.
Press flowers used in arrangements for special occasions such as a baby shower or wedding. Make a design using those pressed petals and flowers, and have it printed on an object as a gift.
Research the meaning of specific flowers (see The Posy Book) and make cards, artwork or mugs with “secret messages” for the recipient.
For inspiration, look at the work of Martha’s Vineyard artist Peggy Turner Zablotny.
Subscribe To Our Newsletter
Sign up for our weekly email about sales and events.