Planting Spring Bulbs in Containers
Planting Spring Bulbs in Containers
Success depends on a few key practices…
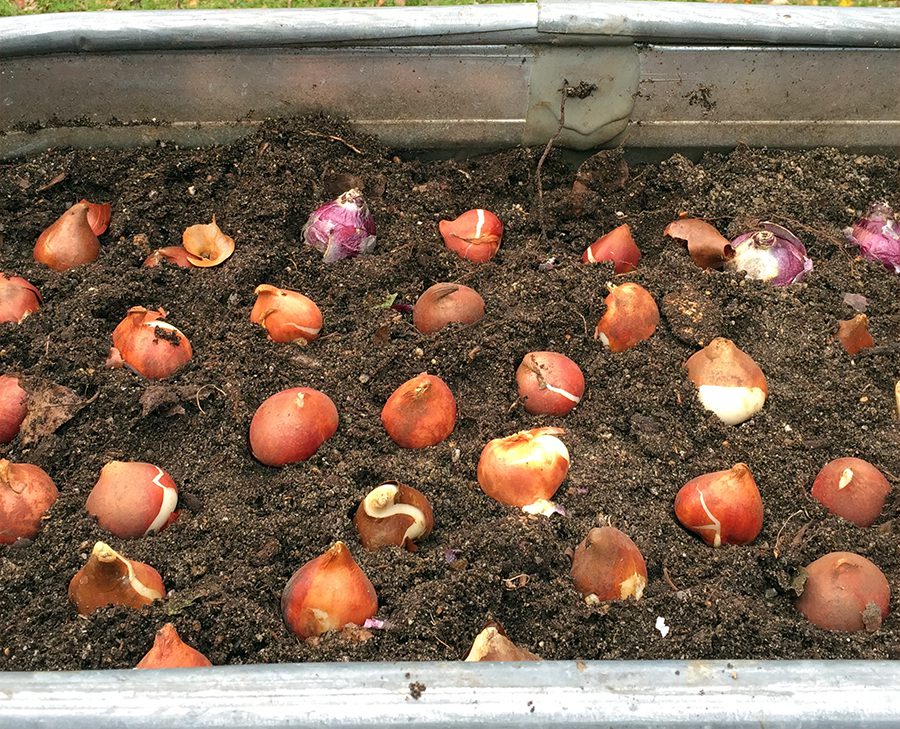
- Be sure that your pot or box has good drainage holes. This is essential for bulbs that are growing in containers. There should be holes in the bottom of the pot or box, and no plastic, rocks, shards, wood or other debris in the bottom.

2. Empty the old potting mix out of your container and use fresh potting soil. This is probably the most important tip I can give you, since new potting mix has much better drainage. Put the older potting soil into the compost or in your raised bed vegetable garden, and fill the entire box or pot with new mix. Next spring, once you remove the bulbs, you’ll be ready to plant your summer annuals in that potting soil that you filled these containers with in the fall.
3. Plant your bulbs in containers in October. On Cape Cod our summer annuals are often still attractive into October, so it makes sense to enjoy them as long as possible. But the cooler temperatures of October are also better for bulb planting, since they stimulate a bulb to convert stored starches into sugars and other solutes. This higher concentration of sugar in their cellular water lowers its freezing point and allows the plant to tolerate sub-freezing conditions without its cells bursting from ice formation. So bulbs planted in cool temperatures are making their own antifreeze!
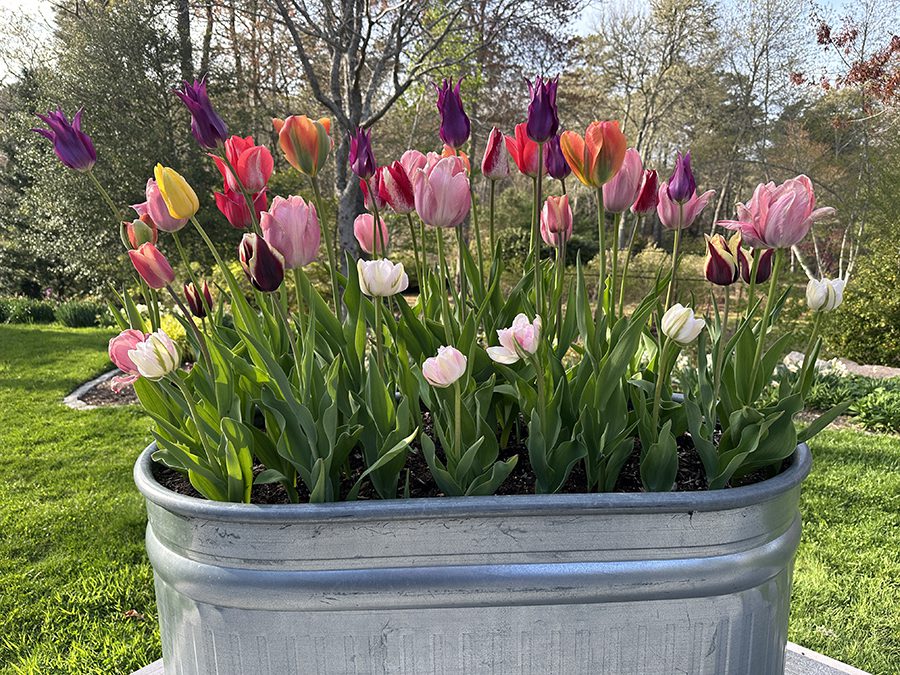
4. Pack them in. In containers you can plant bulbs much closer together than you might in the ground. They will only be in that pot or box for one season. Should you want to transplant the bulbs to a garden in the spring, after they flower, you can do so and space them further apart at that time. Or you can decide that your bulbs are container annuals, and put them in the compost after they finish flowering. In either case, you want to place as many in your container as possible. Bulbs can be spaced an inch or two apart in a box or pot.
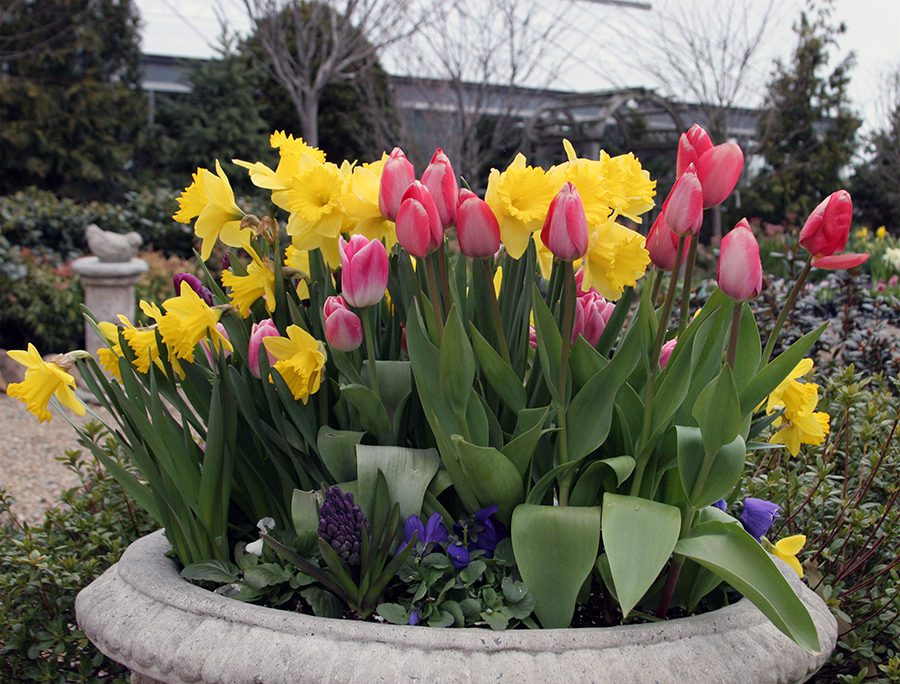
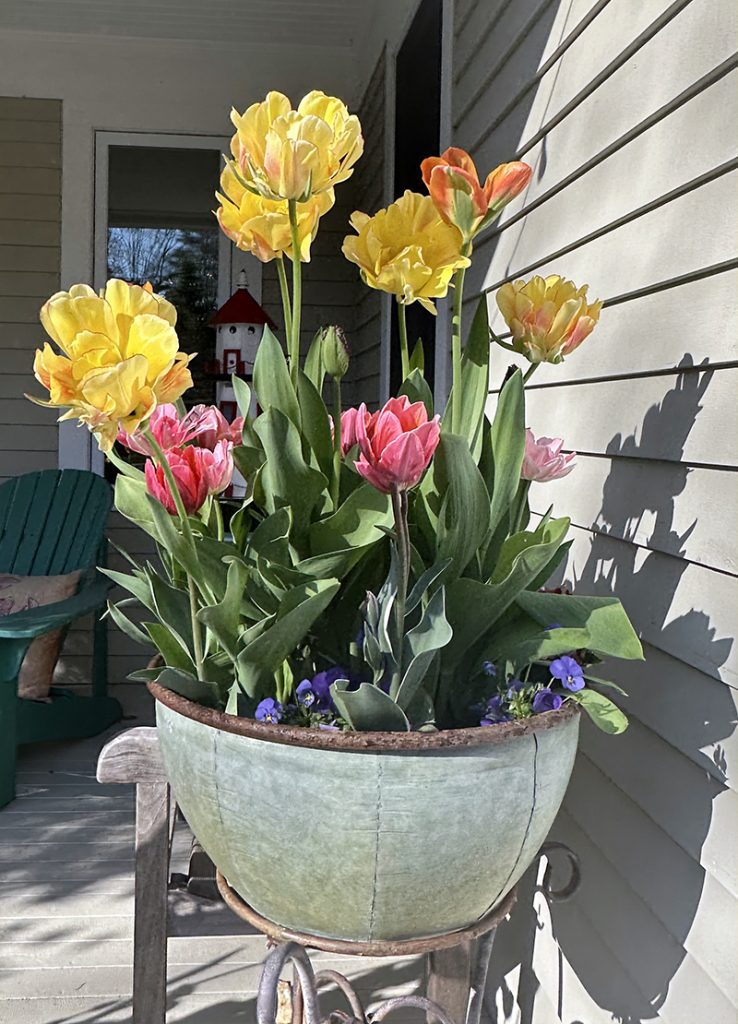
5. Pay attention to the bloom time and height of the plants. On the package of the bulbs you buy it will say if they will flower in early, mid or late spring. It does’t matter if you use some that bloom early and other later on, or if you choose varieties that will flower all at the same time; the display will be lovely no matter what you decide. But you should place the flowers that will be shorter around the outside edge of the container so that they will be sure to show no matter when they flower. If you’re combining hyacinths, crocus, grape hyacinths or other smaller bulbs with tulips and daffodils, for example, place the shorter-growing bulbs around the edge of the pot or box, and the taller tulips and daffodils in the middle.
6. Cover your bulbs with about 3″ of new potting mix. Water the container well after planting. If your pot or box is on a covered porch where it won’t receive the rain, be sure to check the soil once a week and water the container well when it’s starting to get dry. Once the soil freezes you won’t need to water until it thaws and dries out again. Watering is important because it keeps the roots alive.
We’re hosting a bulb container workshop on Sunday, October 5th. See details and register here.
Subscribe To Our Newsletter
Sign up for our weekly email about sales and events.