Planting Garlic on Cape Cod
Planting Garlic on Cape Cod
As I walked through the store recently I passed the bin of Wicked Awesome Local Garlic. Yup…that’s what it’s called. This reminded me that it’s time for planting garlic in our vegetable gardens! Here is how you can easily grow your own garlic.
Purchase seed garlic or use cloves you’ve saved from your own harvest this summer, but don’t use generic, supermarket bought cloves. These might be quite old so not as vigorous (or awesome!) as this year’s seed garlic.
Break the cloves off of the main head. Leave the paper on the cloves but don’t worry if it falls off of some of them. Often a head of garlic has several large cloves and one or two much smaller ones. Although you can plant the smaller cloves, they are likely to produce smaller heads, so you might want to just use those in cooking.
Did a trench in your garden that’s about 3 inches deep and set the cloves in that depression, pointed side up. Place the cloves six inches apart.
Fill in the trench and cover the cloves, patting the soil gently once the dirt is back in place. Water the area to settle the soil so that squirrels and other critters are less likely to root around, looking for whatever has disturbed the ground. Now, sit back and relax!
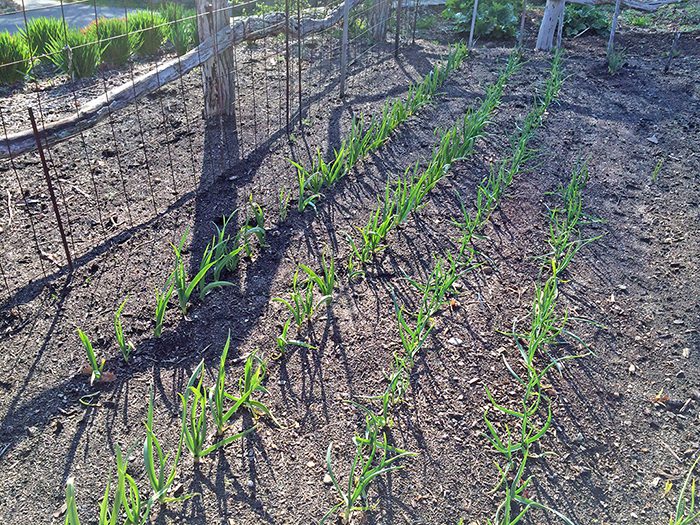
Most garlic will sprout in about six weeks. You shouldn’t have to water the area unless there is a three to four week period without rainfall. Don’t worry about covering the tender green shoots as they appear…garlic shoots are quite hardy through frosts, and those shoots are making energy that goes into root growth and winter survival. If you want to mound some chopped leaves or hay around the base of the plants in January, that’s up to you…but don’t cover the plants completely and use a mulch that is light weight. Normally, mulching isn’t necessary.

Subscribe To Our Newsletter
Sign up for our weekly email about sales and events.