Growing Peppers on Cape Cod
Growing Peppers on Cape Cod
Although March is way too cold to plant peppers outdoors on the Cape, it is time to plan for growing them in the summer. This is the time when peppers are started indoors from seeds, and gardeners begin planning their vegetable gardens. Here are 10 tips for starting pepper plants from seed and growing them in the Cape Cod garden.
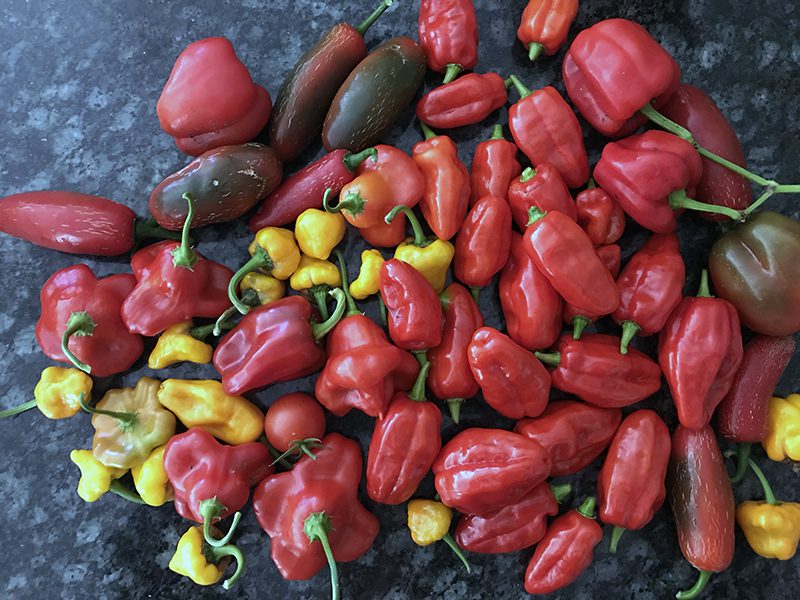
- Decide how many pepper plants you have room for, and which varieties you wish to grow. Since peppers get planted 18″ apart, the amount of space in your garden will determine how many plants you can grow. Those with space for many plants might want to grow their own from seeds, but those with smaller gardens might want to plan to purchase pepper plants at the garden center later in May.
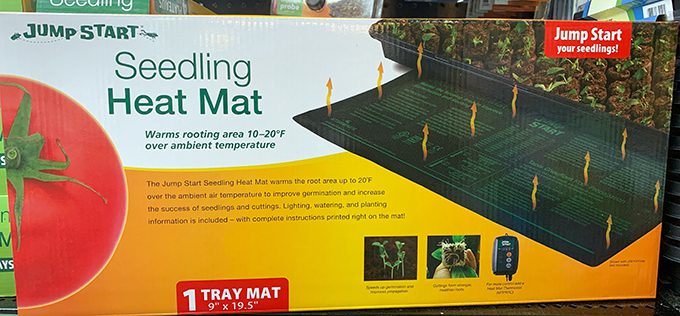
2. Peppers benefit from heat when the seeds are germinating. Placing your pots of seeds on a seed-starting heat mat is helpful.
3. When starting peppers inside, lights are beneficial if you don’t have a greenhouse or south-facing windows.

4. Most pepper plants grow slowly indoors, especially if the room where they are started isn’t very warm. Resist the urge to fertilize too early in the season. In late-April or early-May you can begin using a mild fertilizer if the plants are looking pale, but until then the potting soil or seed-starting mix you used will have enough nutrition to support the plants.
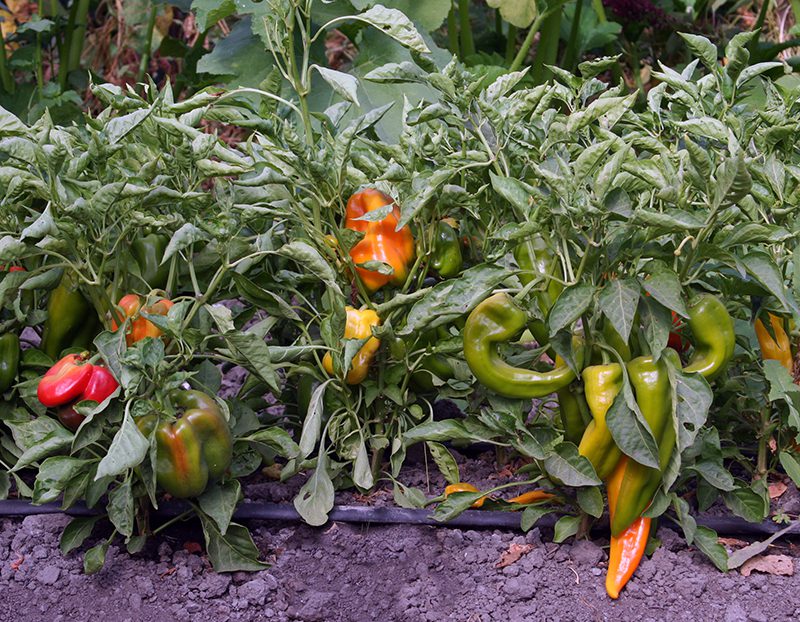
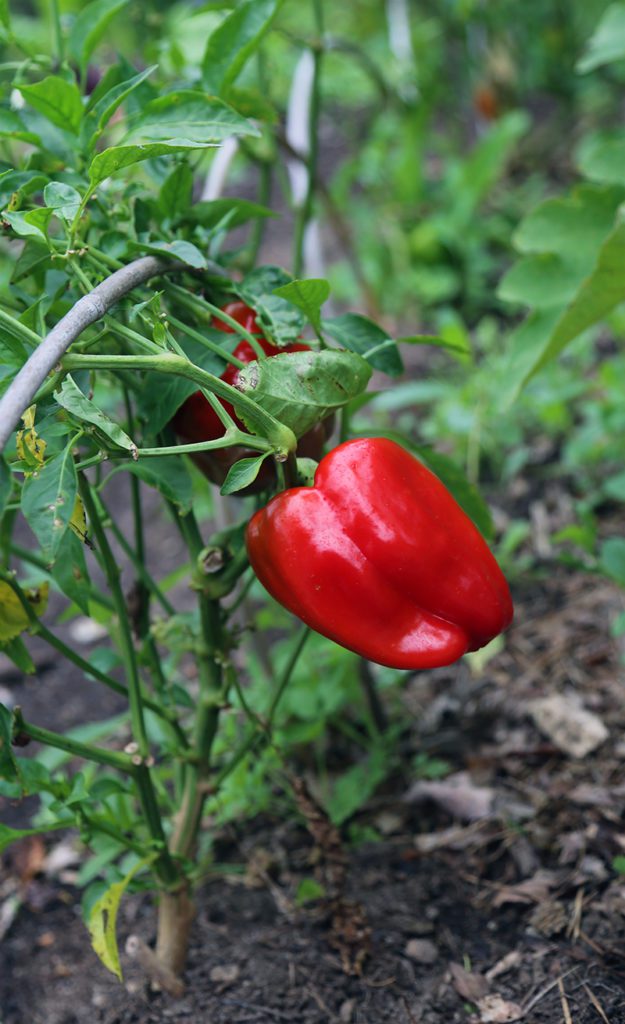
5. Peppers need full sun to grow well. They can be planted in the ground, in a raised bed, or in larger containers.
6. Peppers do not need to be watered every day! In fact, if you’re watering with a sprinkler, the frequent splashing of foliage will lead to leaf-spot fungus on your plants. Like other vegetables, a deep soaking less often is better than a little every day.
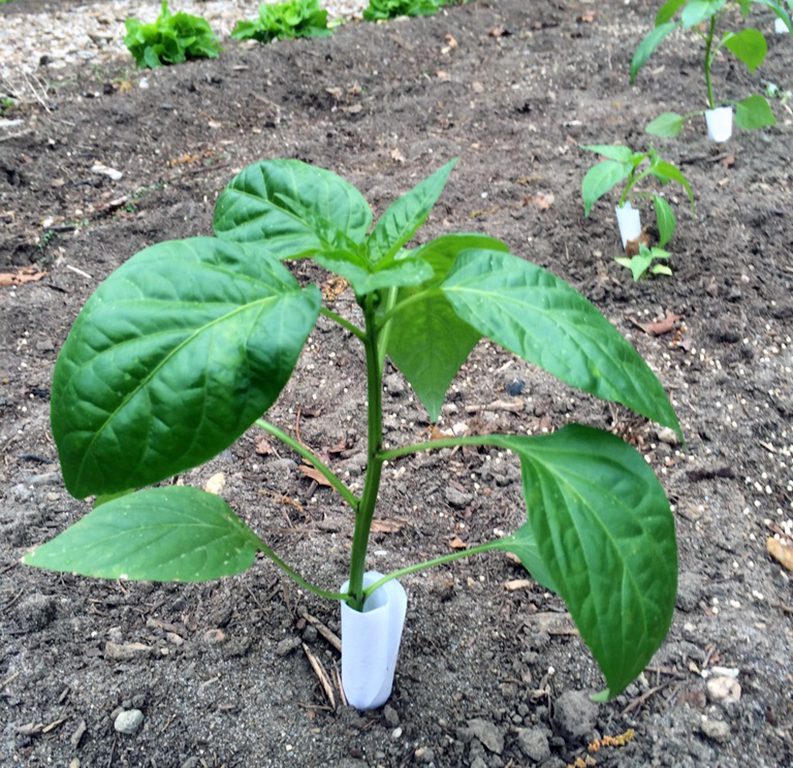
7. Since the fruits are heavy, taller varieties of peppers will need to be staked. It’s best to put the stakes, cages or other support systems in the ground soon after the plants are put into the garden.
8. Pepper plants should not go outside, into the garden until the night temperatures are reliably above 50 degrees. If planted too early in cold soils, plants can go into “hunker-down mode” and slow to grow.
9. To prevent cutworms from killing young, newly planted peppers, protect their stems with a coil of paper.
10. If the summer is cold and damp, you may see leaf-spot on your pepper plants. Should this happen, spray with one of the organic fungicides we have in the store.

Subscribe To Our Newsletter
Sign up for our weekly email about sales and events.