Repotting Houseplants
Repotting Houseplants
This post was suggested by someone who attended a class I gave about houseplants. Her question was, “Do newly purchased houseplants need a new pot right away?” This reminded me that it’s always good to review why we might want to repot a houseplant, whether it is new or something that we’ve grown for years. Here are 7 basic tips for repotting your indoor greenery.
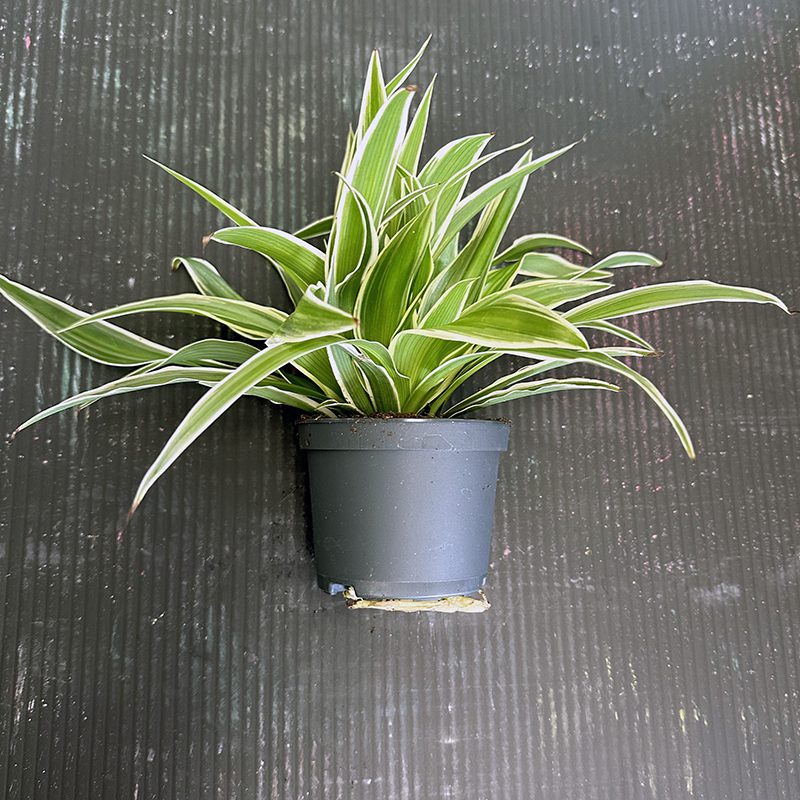
1. Repot a plant that is “root-bound.”
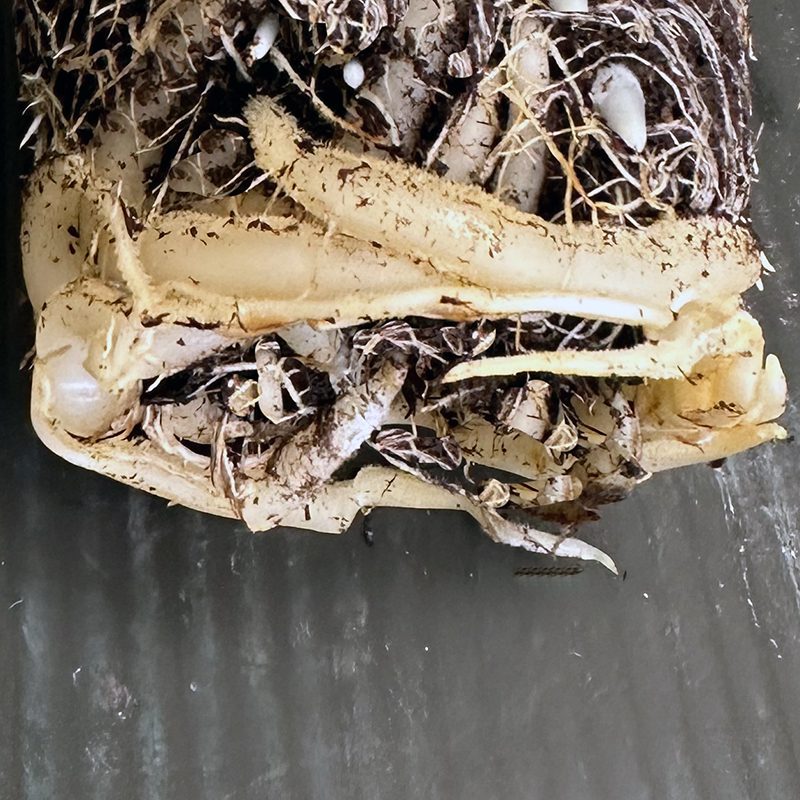
When a plant’s roots overly fill a container and start to circle around the bottom of the pot, we call that being root-bound. Roots that are packed together and are congested don’t come in contact with much soil, and this prevents them from absorbing nutrients from the potting mix. When the roots are tight in a pot, there aren’t spaces for water, so although you may think that you’ve watered a plant well, the roots may actually be dry since there’s so place for the moisture to linger. If you take a plant out of the pot and see more roots than dirt at the bottom of the pot, that is a plant that is root-bound. And if you see the roots coming out the drainage holes, you know that that plant is looking for more room to grow!
2. Repot a plant that has been in the same soil for years.
A plant that’s been in the same potting mix for several years doesn’t have the same drainage because the organic matter breaks down. Roots can clog the drainage holes, and the combination of old potting soil and root congestion can lead to rotting. When repotting such plants, you don’t have to use a bigger pot, but you should loosen or prune congested roots, pulling away or rinsing off as much of the old potting mix as possible. Then repot that plant with fresh soil so that there are renewed small air spaces around the roots for the water to flow through.
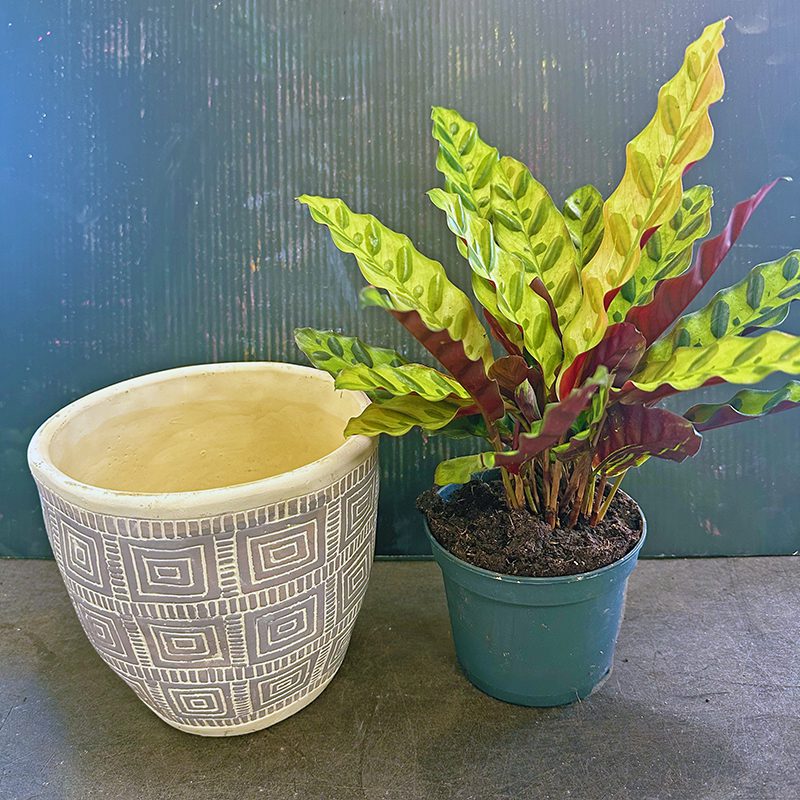
3. Repot a houseplant that you want to grow larger.
In a container as well as in the garden, what goes on below the surface of the soil is reflected up above. So a plant that can easily expand its root system will grow larger above the ground. Sometimes we want plants to get bigger, but if you have a houseplant that’s getting too large for your house, don’t keep transplanting it to a larger container because that will encourage it to grow more! If you have a small, new plant and want it to grow larger, repot it in a container that’s one size bigger than the pot it was grown in.
Don’t put a small plant in a huge pot, however, thinking that this will encourage it to grow faster. If there is too much damp soil around a rootball, growth will actually be slower, or the roots may rot. It’s best to move plants up one size, with an inch or two of new soil around the sides and underneath, but not much more.
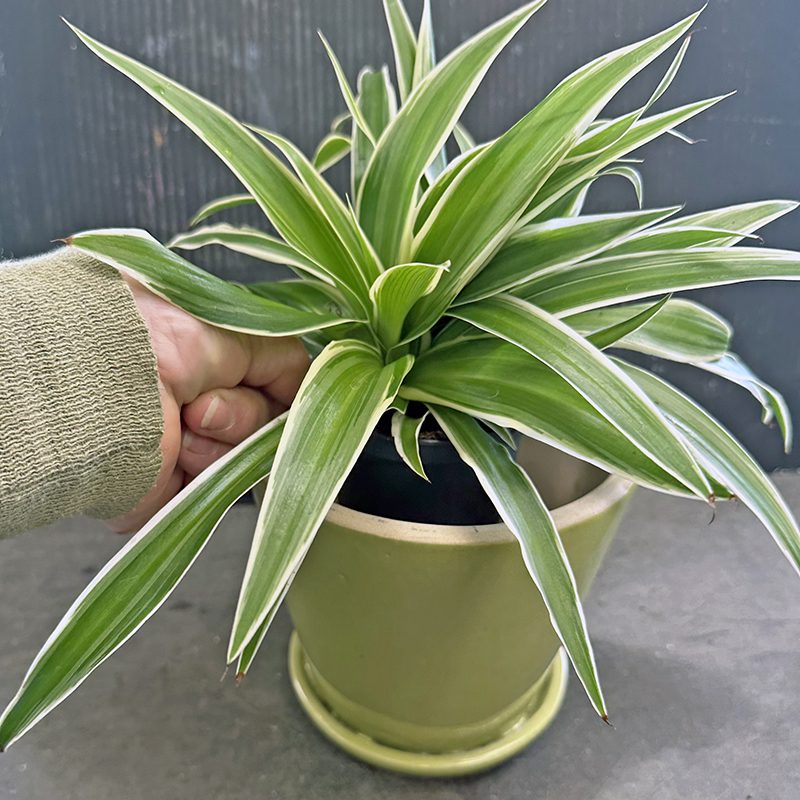
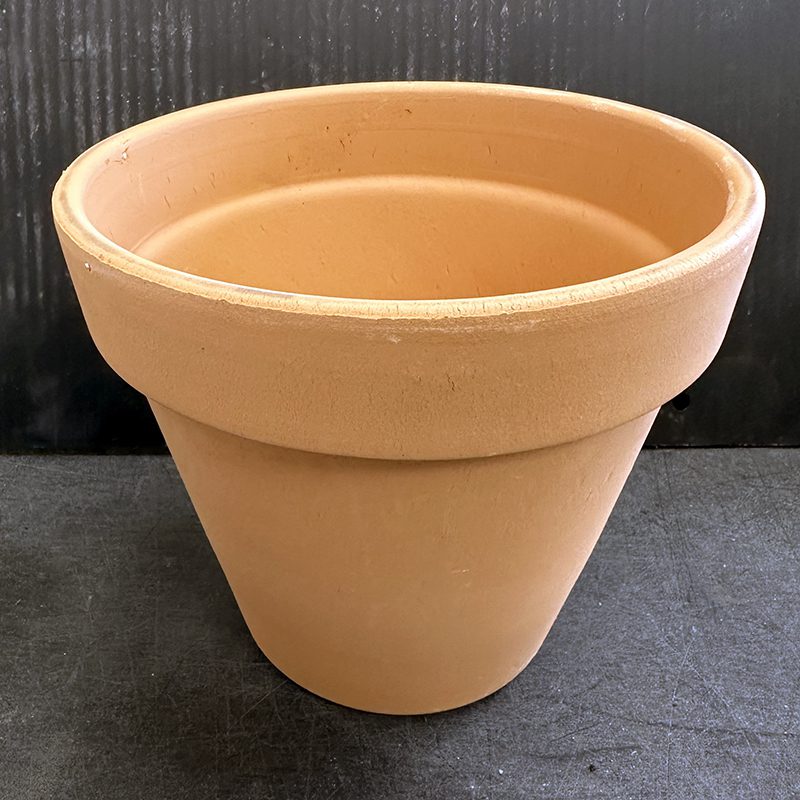
4. Repot a houseplant for a more decorative container.
One of the joys of having plants in your home is how they add to your interior design. From the foliage to the color and shape of the pot, plus how you’ve arranged them, styling houseplants is a nice way to make changes in your interior.
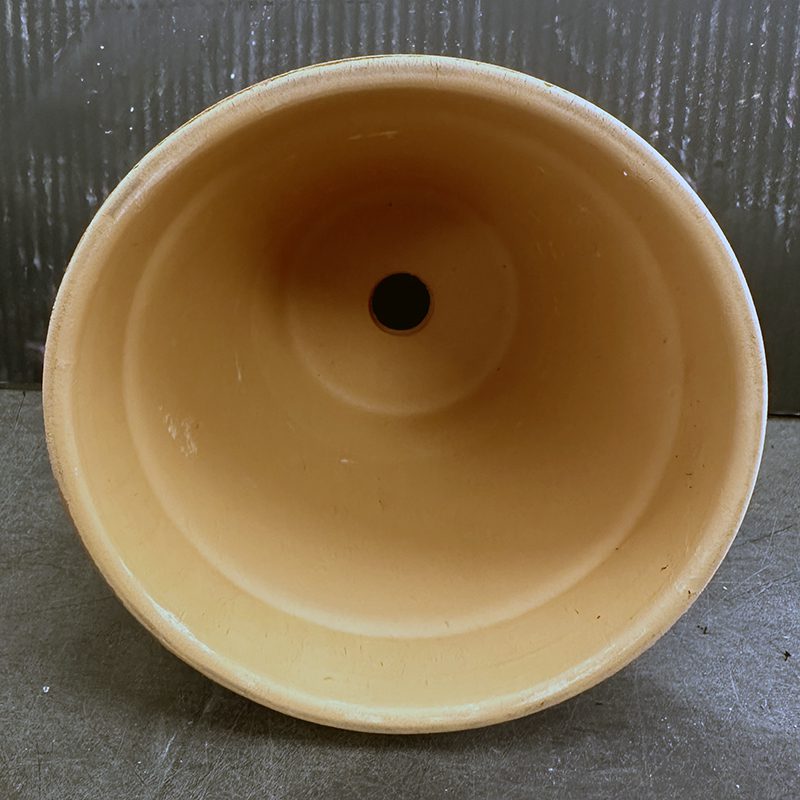
5. Don’t cover up the drainage hole!
Back in the day, we were all told to add rocks or shards in the bottom of a pot “for drainage.” This was bad advice since it’s unnecessary, a nuisance, and harmful for plants. Think about it: whenever you’ve purchased a plant that’s come from a professional grower, there has not been a rock, shard, or wood debris in the bottom of that pot. And the drainage holes were never covered by screening, a paper towel, a seashell or a rock, because the pros know that the drainage hole is for drainage. Learn from the professionals: not much dirt escapes from those holes. Do not cover them.
6. Consider the weight of the pot.
When you’re repotting, consider the weight of the pot. For some plants, it’s an advantage to have a pot that is heavier than a typical plastic container. This is especially true if you put some or all of your plants outside for the summer; a heavier pot is less likely to blow over on a windy day. Even indoors, those plants that are large on top will need a pot that has a greater weight so that it doesn’t tip over. But should you be moving a plant in and out, you will want to consider how much weight you’re able to lift.
7. Repot houseplants in the winter?
This is a fine time of year to repot your houseplants, since the days are getting longer, signaling the plants that the growing season is coming. After you move a plant to a new pot or fresh soil, let it get settled in for three or four weeks before fertilizing.
1 Comment
Leave a Comment
Subscribe To Our Newsletter
Sign up for our weekly email about sales and events.
So glad I read this article. Thought I had to add stones to bottom of pot.