How To Propagate Hydrangeas
How To Propagate Hydrangeas
Cape Cod’s favorite shrub, the lacecap or mophead Hydrangea, is easy to propagate! Here are the ways you can make more Hydrangea shrubs.
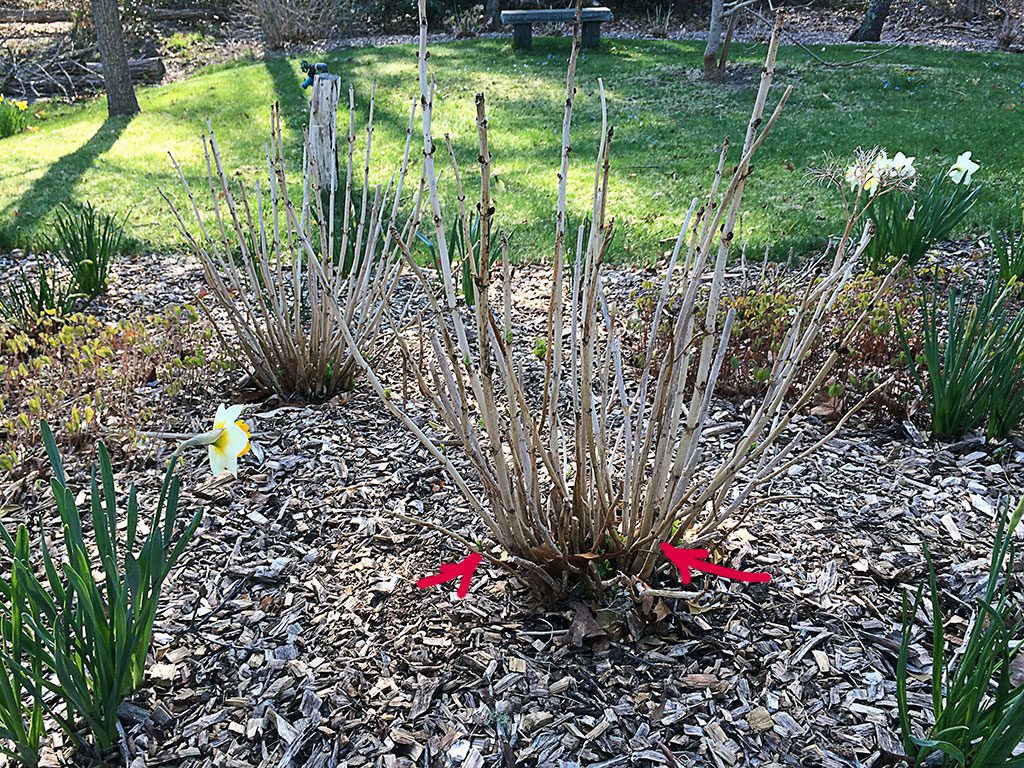
The easiest way to make more hydrangea shrubs is to divide a plant that you are already growing. This can be done in the spring or early fall. Go to your shrub with a pointed shovel and either dig the entire plant up, or use the shovel to cut off a few stems from one side of the plant. Try to get as many roots as possible by digging at least a foot away from the plant. If you’ve popped the entire plant out of the ground, you can use a shovel or root pruning saw to cut the clump in half or into quarters. Replant all pieces immediately where you want the shrubs to grow and water well.
The second way to make more hydrangeas is by pinning one of the smaller stems to the ground in the spring. Move any mulch aside, and bend a flexible stem so that one of the leaf nodes (see drawing below) touches the soil. Hold the stem in place while you push some soil on top of the stem, followed by an inch or so of mulch. Then either pin that to the ground with a heavy piece of wire formed into a “U” shape, or hold the stem down with a rock or a brick. Leave it in place through the summer. By the end of the summer it should be rooted in place. Once it has roots you can clip the stem off of the mother plant and dig up the rooted piece to plant in another location in the early fall or following spring.
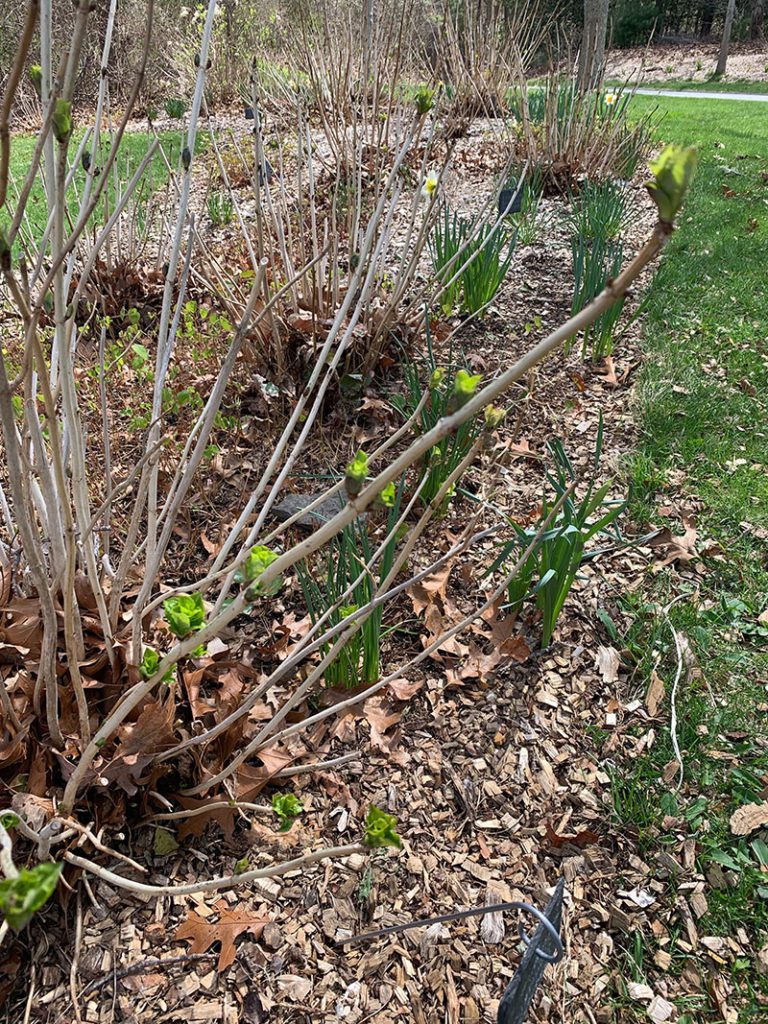
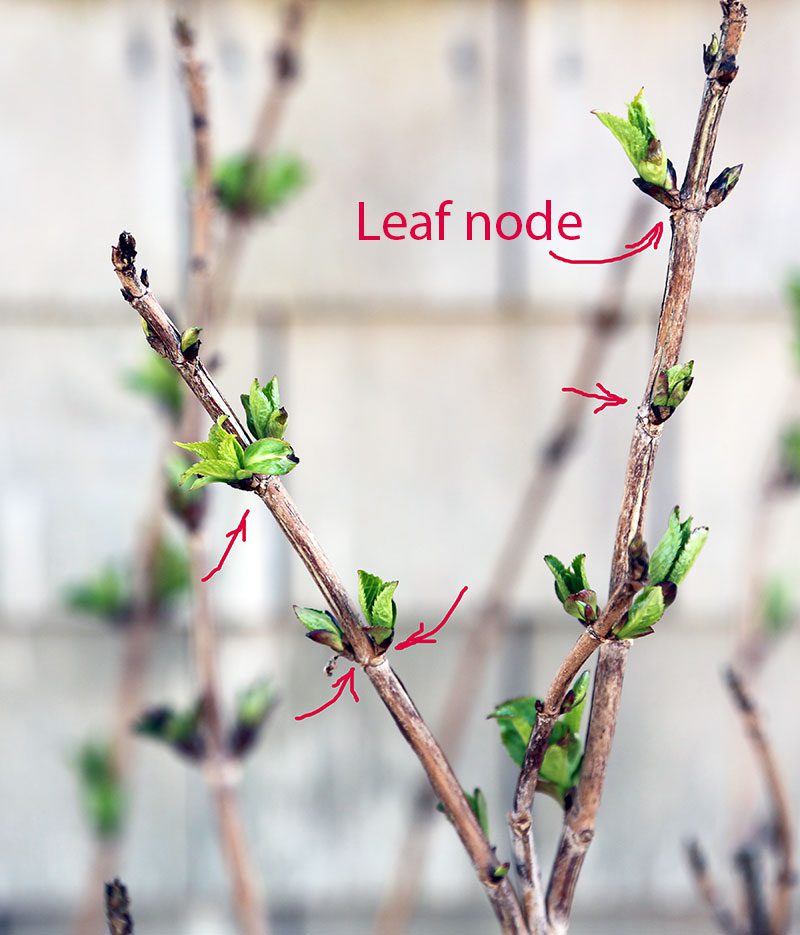
The third way to propagate your hydrangea is to take cuttings in the fall. In early September cut pieces off the newest stems that are about eight inches long. Be sure to make the cuts about an inch under a set of leaf nodes – the places you see buds on the stems. The new stems are the ones that don’t have flowers on them.
Clip off all but the top two leaves and coat the bottom of the stem, including the lower most leaf nodes, with a rooting hormone. You can use either gel or powder. Place these in a clean pot that’s been filled with moist seed-starting mix. Bury about two to three inches of the stem, including the nodes that are covered with rooting hormone. Gently push the potting mix against the stem and water it well.
Place these stem cuttings either outdoors in a shady spot, or inside in a bright location but not in direct sun. Keep the potting mix moist. The stems should root within a couple of months. At that point, keep these pots over the winter in a cold place but one that doesn’t go below freezing. Inside of an unheated but attached garage is good, in a cool basement near a slider, or in a cool, seldom used bedroom.
See a video about how to take a hydrangea cutting here.
Subscribe To Our Newsletter
Sign up for our weekly email about sales and events.