All About Dahlias
All About Dahlias
These plants are the queens of October…here Dahlia tips and tricks
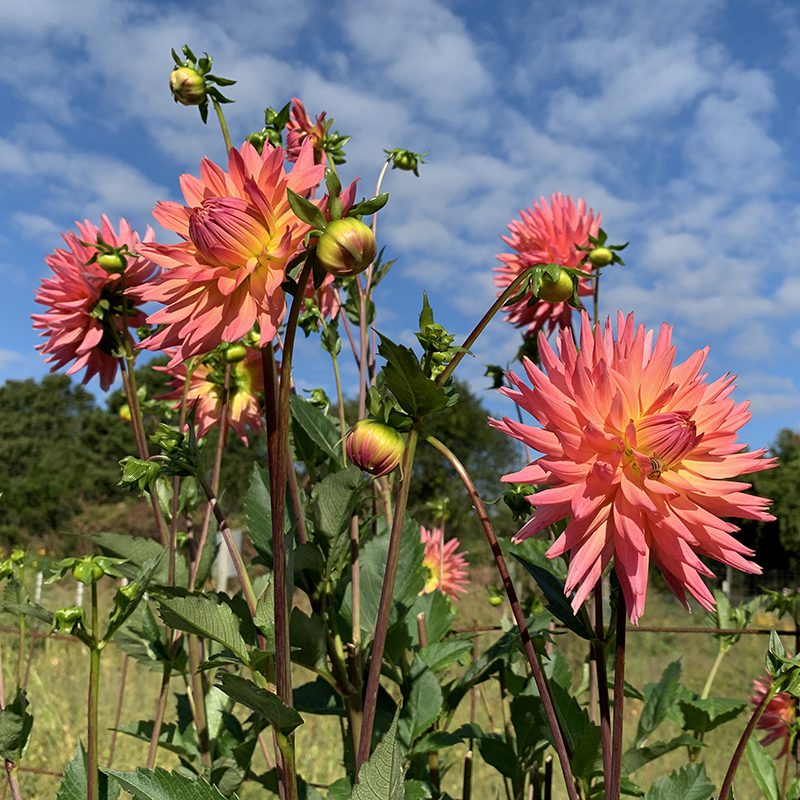
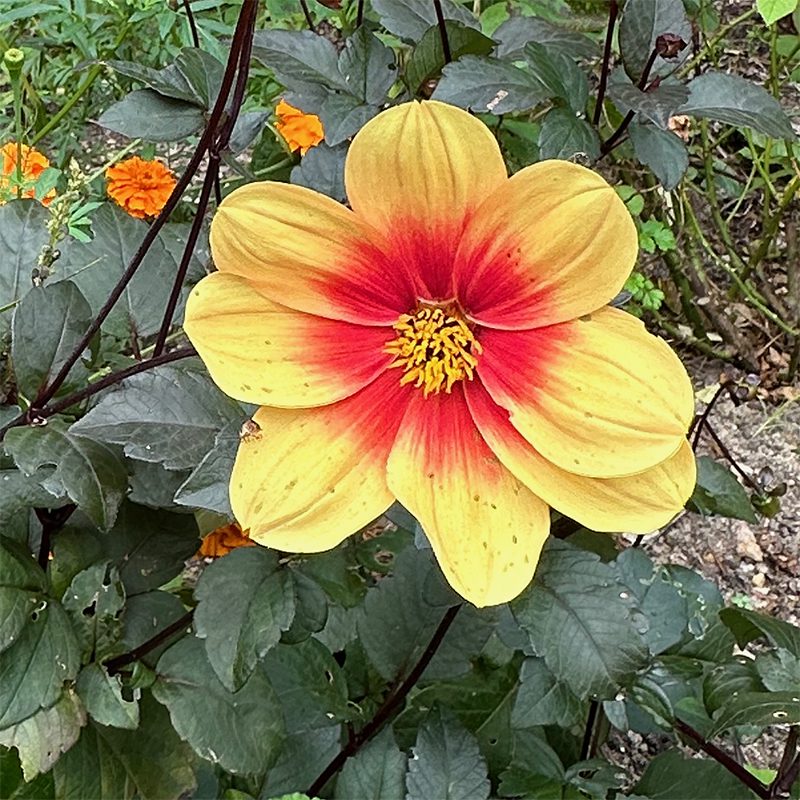
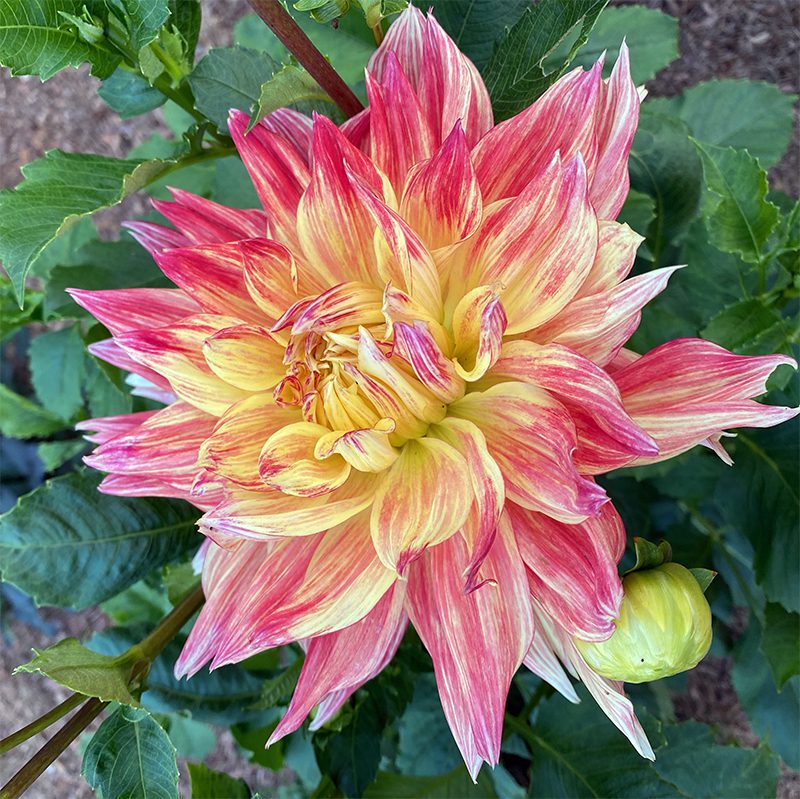
There are many types of dahlias, good for various purposes.
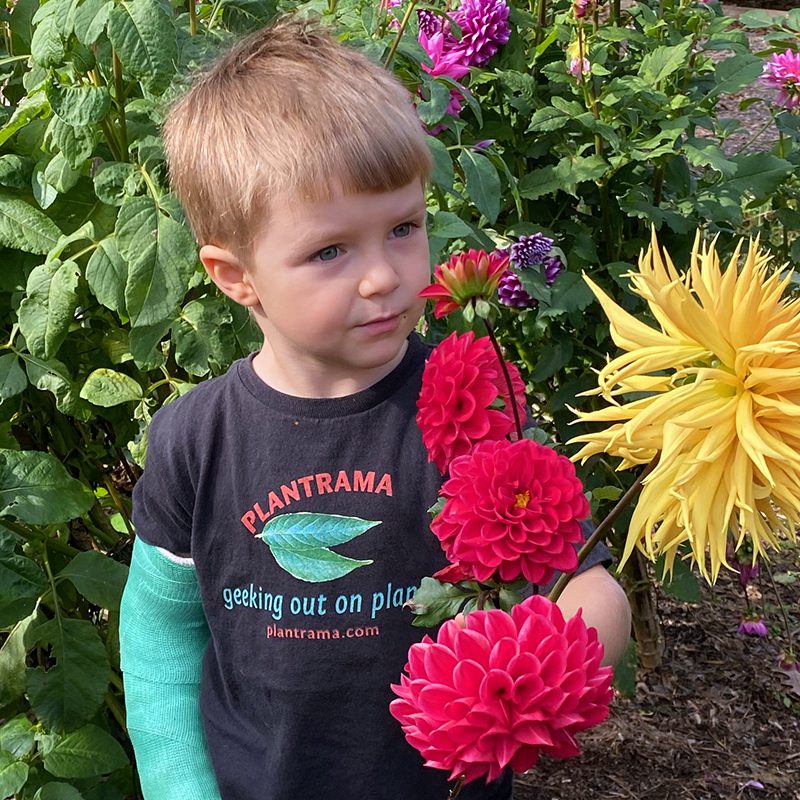
These plants, Dahlia pinnata and hybrids, are grown as an annual in Massachusetts but it’s a perennial in its native regions of Mexico and Central America. Traditionally, they have been used as dye plants and grown for their edible tubers, but most are currently planted for their striking, colorful flowers. Taller varieties are wonderful to cut for bouquets, and shorter plants add color to flower beds or containers. The single flowers are a favorite of bees, while the large, dinner plate blooms are valued for use in large arrangements.
How to grow Dahlias.
Plant Dahlia tubers in May, in a location that gets all-day sun. You can either start them in pots in early May, or plant them directly into the ground from mid-May into June. Like most annual plants, these benefit from fertilizer. I use equal parts of the synthetic, time-release Shake N’ Feed and the organic Plant-tone. One cup of this mixture should be sprinkled in a three foot diameter on the surface of the ground before planting, with the Dahlia tuber or plant placed in the center of that area. Some of the fertilizer mix gets incorporated into the ground as you plant the tubers, but the rest stays on the surface to add nutrients from the top down.
Support the taller varieties or those with huge flowers.
Some types of dahlias will grow to six feet tall in one summer. These need to be tied to a stake or fencing to keep them from blowing over in windy weather. Other varieties have huge, heavy flowers that need supporting. You can use some soft twine to tie the stems to poles, wire or other supports. Even when supported, if a tropical storm is predicted, take the opportunity to cut a large bouquet before the wind and rain arrives.
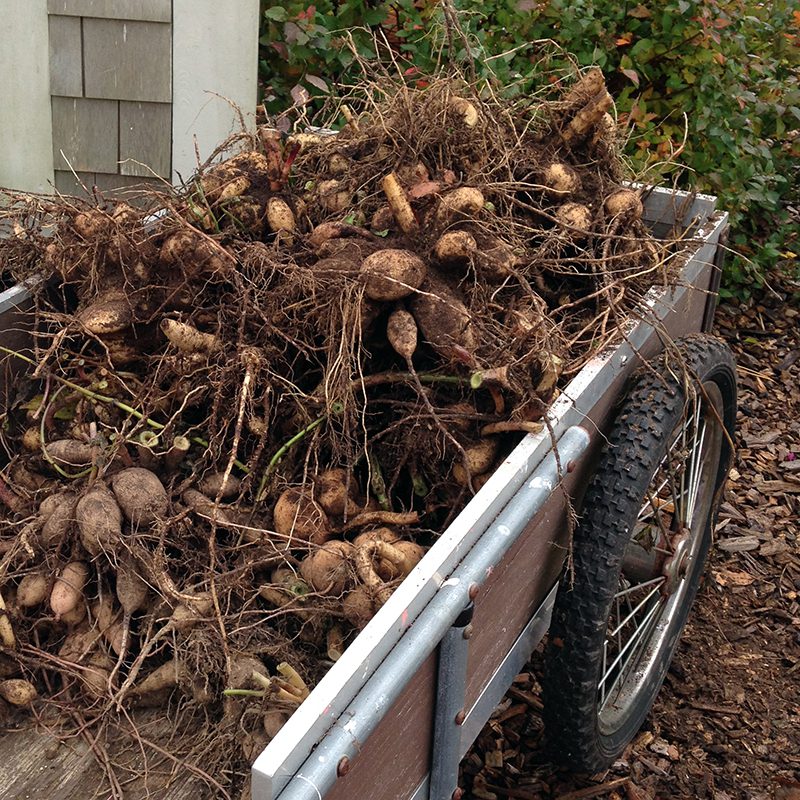
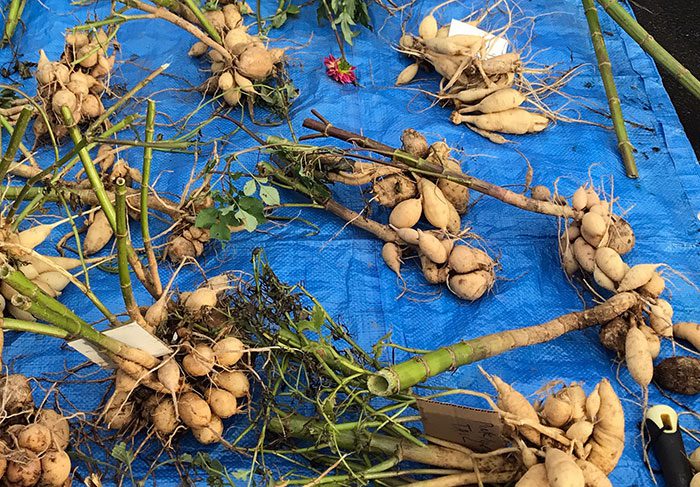
Save dahlia tubers from year to year.
These plants occasionally live through the winter if the tubers are left in the ground, but to be sure yours are saved, dig them up after the first hard frost. On Cape Cod this is usually at the end of October. After the plants have wilted from the frost, cut the stem down to about six inches tall before digging. Put the shovel about a foot out from the stems so that you don’t slice into the tubers, digging all around and then under the clump.
Shake the soil off of the clump of tubers, and then wash them with a hose to get the rest of the dirt off. Put your cleaned tubers on a tarp, sheet or newspaper, and let them dry somewhere that’s out of the weather. Since the tubers are usually fairly congested, drying can take a week or two. See storage directions below.
How to store dahlia tubers
There are various ways that people store these tubers, and like many garden practices, there isn’t just one right way. I keep the clumps intact, and will separate the tubers in the spring. After they are no longer damp, the clumps are wrapped in layers of newspaper, and those bundles put into cardboard boxes. Instead of newspaper, some people put a layer of dry sawdust, vermiculite, or potting mix into cardboard boxes or paper bags, followed by the tubers and then topped by more of the packing material they’ve chosen. The basic idea is that the tubers are protected from drying out, but in a material that breaths. Do not wrap them in plastic as they are likely to mold.
The boxes or bags are then placed in a location where it will be cool but not go below 35°. In May, you take the tubers out of their storage, cut off individual pieces that are already sprouted, and plant them to begin again. Those tubers that aren’t yet sprouted will most likely do so as well, so plant these in pots or gardens and watch for emerging plants.
Dahlia problems
These plants are fairly trouble free, but early in the season the earwigs can do some damage on the foliage. If you see the new leaves being eaten, dust with diatomaceous earth on a dry day, applying the product onto the plant and the soil around it. Usually once or twice is enough to dampen the earwig population so that the plant can get growing. Fun fact: earwigs are a beneficial insect. They are one of the ways the natural world breaks down decaying plant foliage to return the nutrients and organic matter into the earth. Yes, they look creepy, but they have an important role to play in the landscape.
Subscribe To Our Newsletter
Sign up for our weekly email about sales and events.