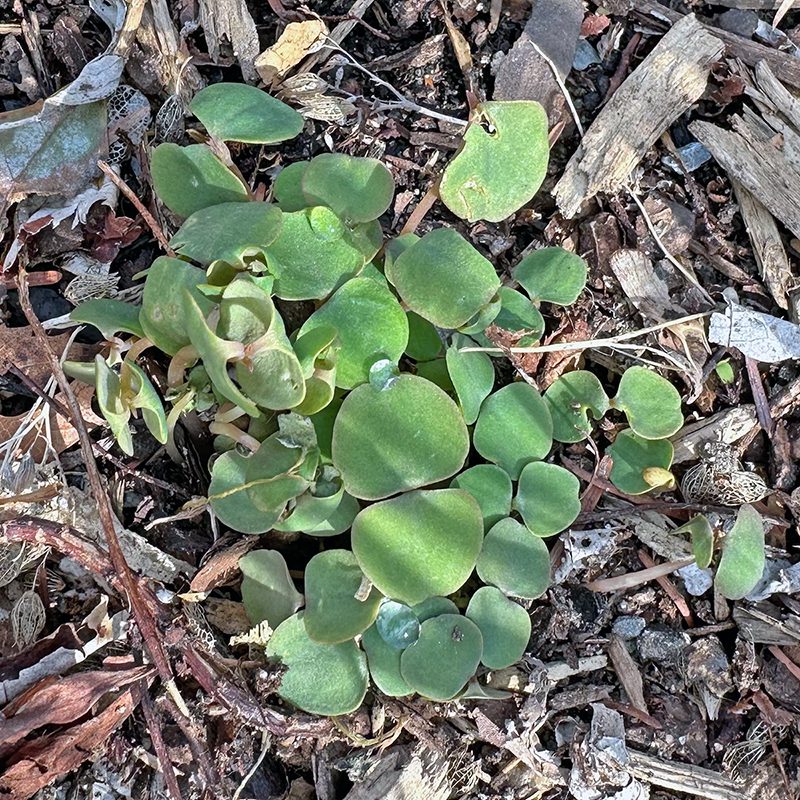
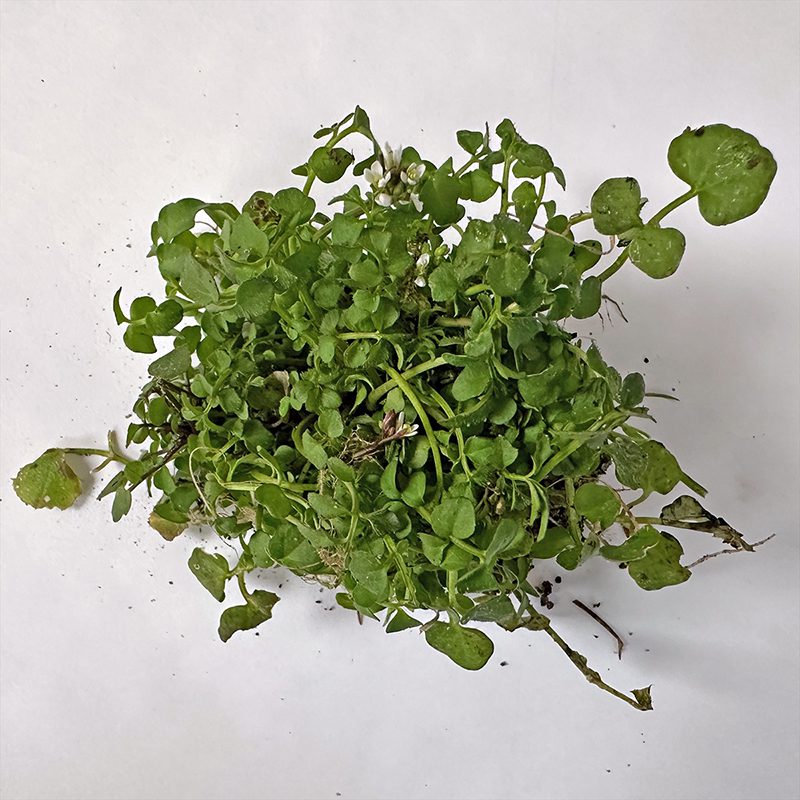
Weed Of The Week: Jewelweed
By C.L. Fornari |
Cape Cod gardeners are seeing round clusters of seedlings in their yards and gardens, and are wondering if they should leave them. Maybe so!
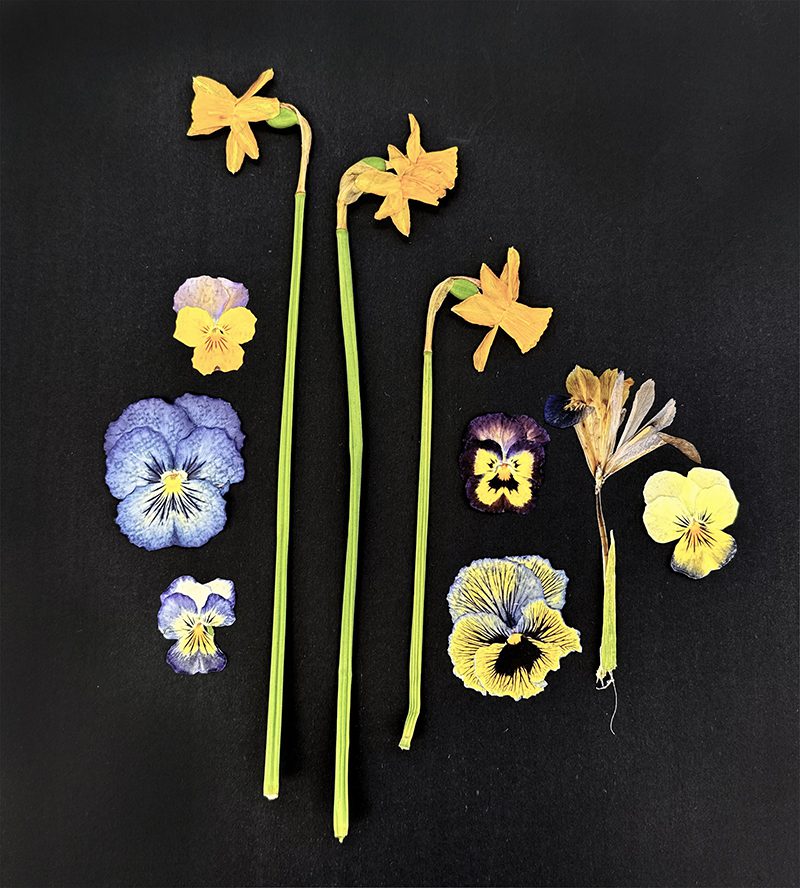
Your Journey To Joy: Pressed Flowers
By C.L. Fornari |
Flowers make us happy, so use the growing season to preserve their beauty and create art, gifts, or a record of your garden.
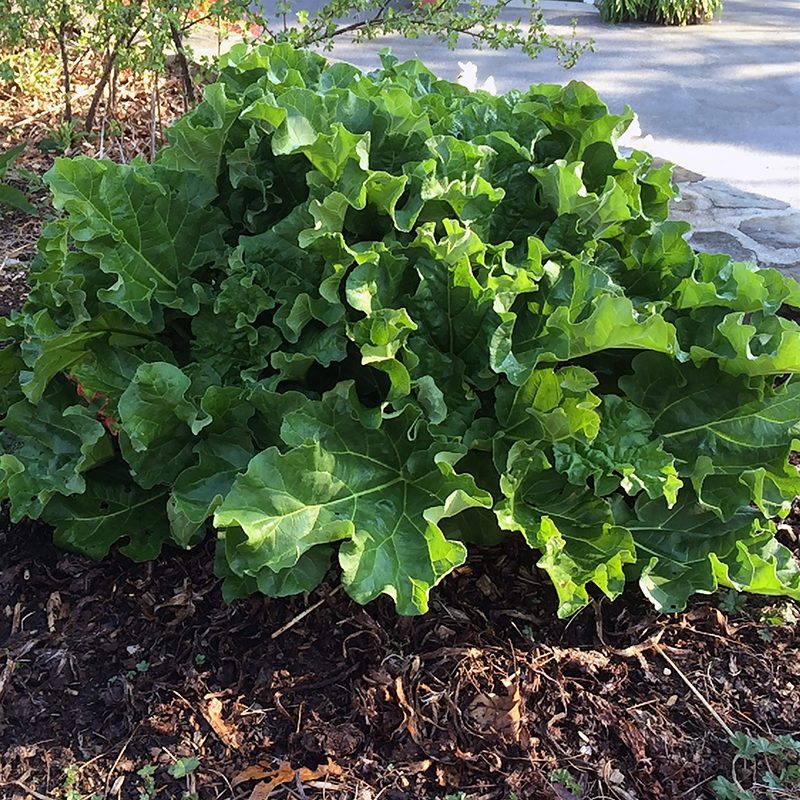
Gardening With Purpose: Rhubarb – An Edible Landscape Plant
By C.L. Fornari |
If you're interested in edible landscaping, you'll want to consider planting rhubarb, and easy, attractive and tasty perennial.
Questions From The Spring Into Joy Happy Hour
By C.L. Fornari |
Here are the unanswered questions from the April happy hour - Peonies, dahlias, rhododendrons, and great perennials for Cape Cod.
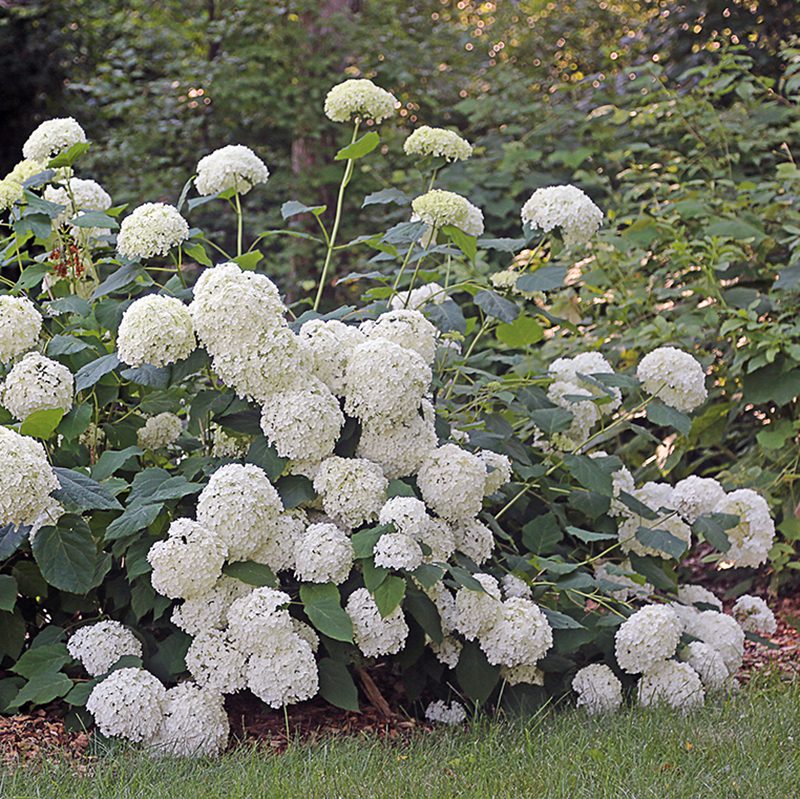
Can I Make My Hydrangea Stems Stronger?
By C.L. Fornari |
If your hydrangeas droop over so the flowers are on the ground, you might wonder how to make the stems stronger. We have answers.
Weed of the Week: Corn Speedwell
By C.L. Fornari |
Corn speedwell, aka Veronica arvensis, germinates in cool soils in the fall or early spring. It grows with other winter weeds on Cape Cod.
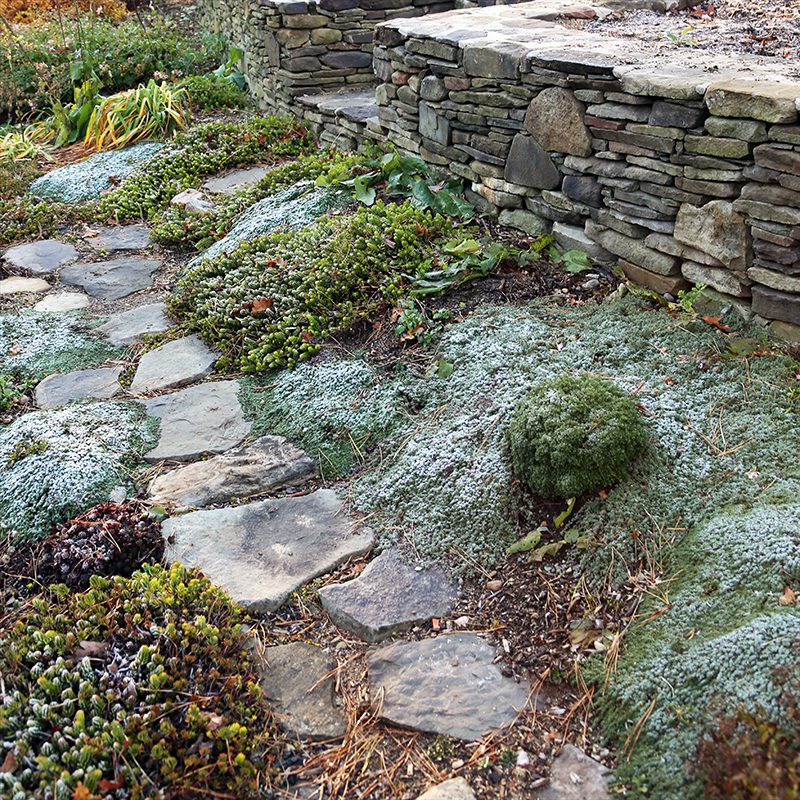
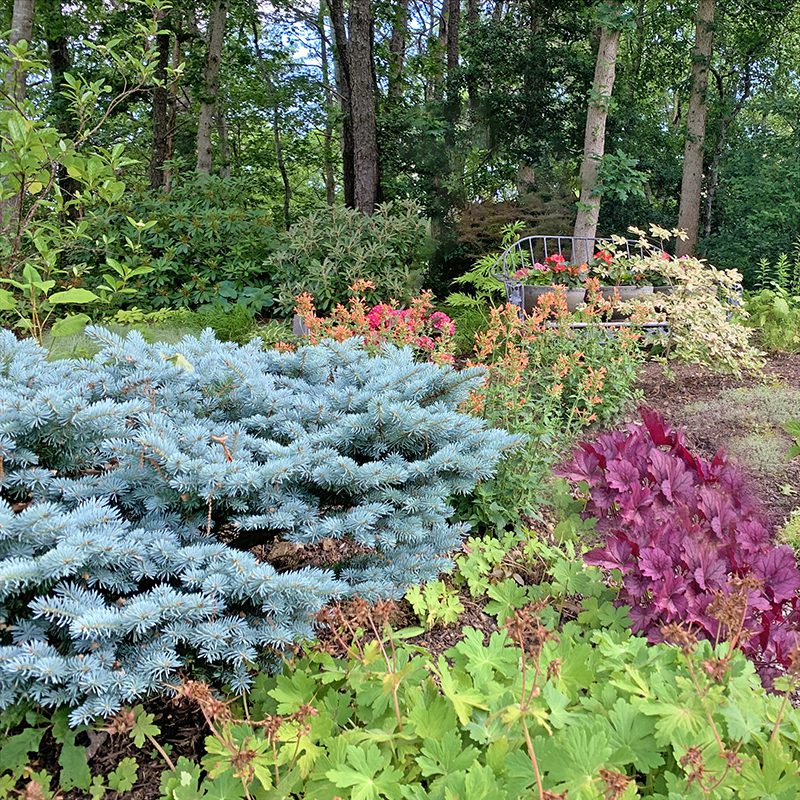
Gardening With Purpose: Covering Bare Soil
By C.L. Fornari |
There are many advantages to planting lushly and covering bare soil. Learn how to copy Mother Nature for pretty and functional gardens.
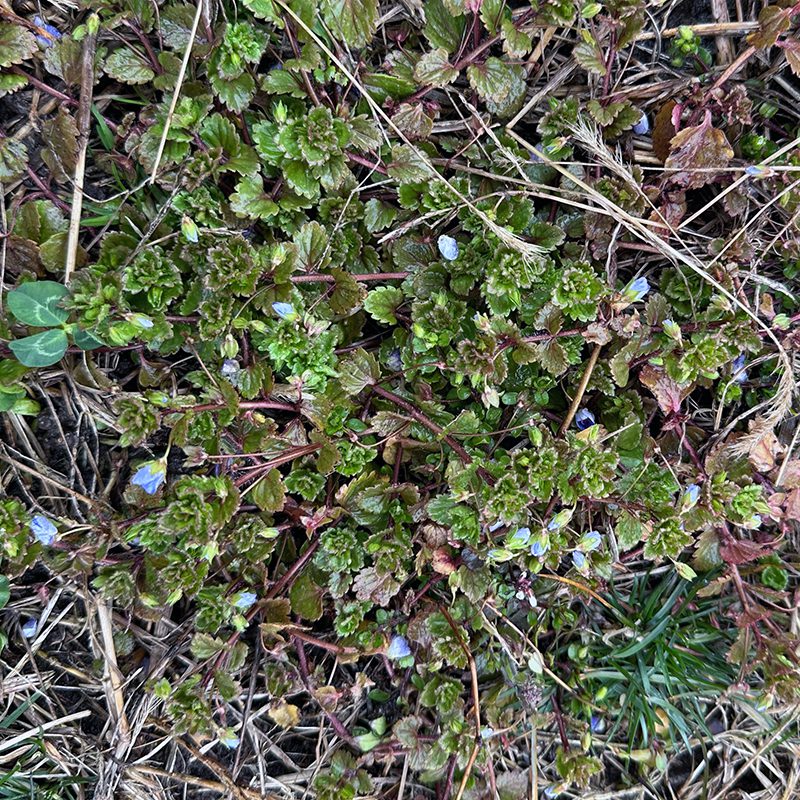
Bittercress: The Weed of the Week
By C.L. Fornari |
Our customers are bringing in these bright green weeds in the early spring. They have tiny white flowers and are called bittercress.
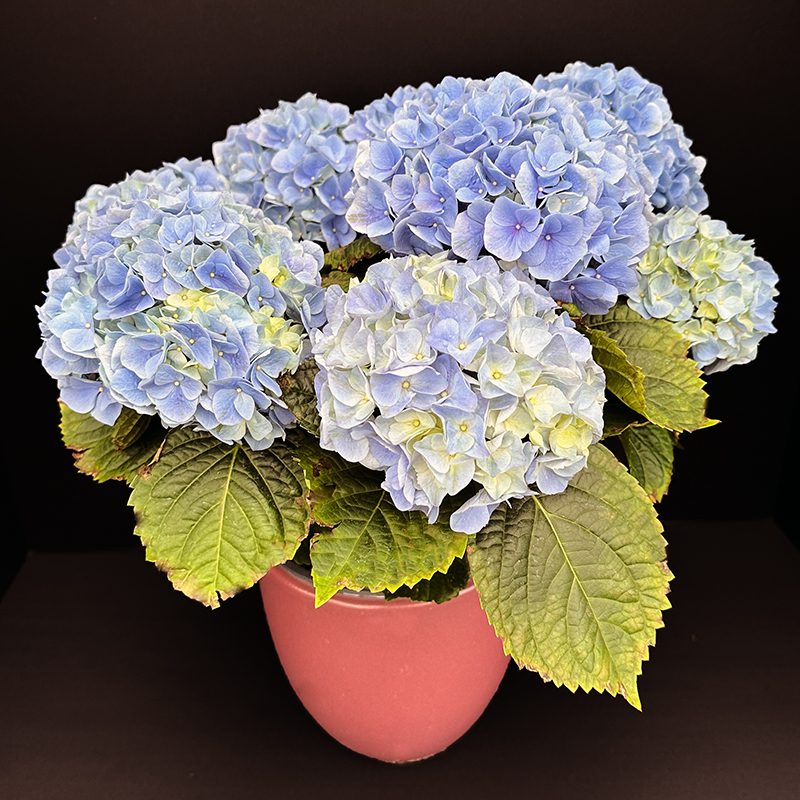
Can I Plant My Gift Hydrangea Outside?
By C.L. Fornari |
We answer our customers' questions about keeping their Easter or Mother's Day Hydrangeas alive and attractive indoors, and planting them outside.
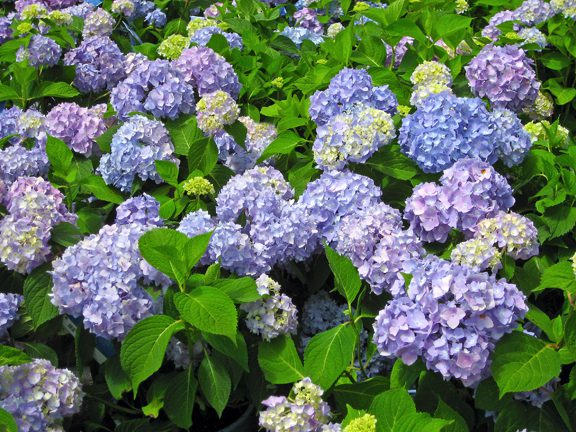
Will The Cold Temperatures Kill My Hydrangea Flowers? (See update below!)
By C.L. Fornari |
We know our customers are worried about the upcoming cold temperatures and how vulnerable the Hydrangea buds are. Here are our thoughts.
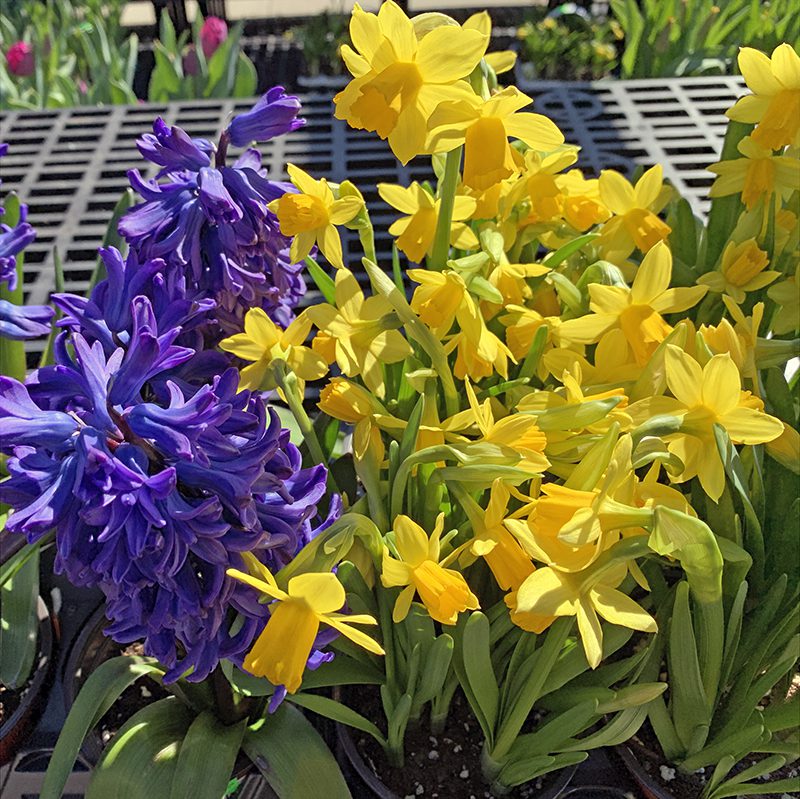
Spring Flowers Bunnies Don’t Eat
By C.L. Fornari |
Hyannis Country Garden has potted spring flowering bulbs in stock for those who want early color: we also offer tips for rabbit control.
Smart Fertilizing on Cape Cod
By C.L. Fornari |
Smart fertilizing is all about having a lovely landscape while preserving the waterways and wild places on Cape Cod.
Subscribe To Our Newsletter
Sign up for our weekly email about sales and events.